Well as this chapter gets closer to closing, let me fill you in on my progress. I took my amp to an acoustic jam a couple of weeks ago to have a friend check out my circuitry. I was given the thumbs up and was given the blessing to fire it up when I got home. When the jam finished, I headed on home. As I began to unload the few items out of my truck to take in the house, the amp was little off balance and :fan: Boom, boom it fell out of the chassis - Fucken' Shit - I replied.

As I took the amp in the house to view what was damaged I found that my fuse holder broke. Now I gotta wait to get another fuse holder.
So last week comes along and I never bothered to pick one up on Saturday at my electronic supply house. I went on Sunday instead to find out that the store was closed. An idea strikes

- ahh Radio Shack. Go to Radio Shack to pic up a fuse holder - yes - they have one so I take it home. I begin to wire it up and fire up the soldering iron. All set to solder and snap - the fucken holder snaps in half. That is what I get for buying Radio Shack crap.
So in the middle of the week I picked up two more fuse holders from the electronics store and tonight I finally wired that baby up. Used the lamp limiter and did the preliminary tests.
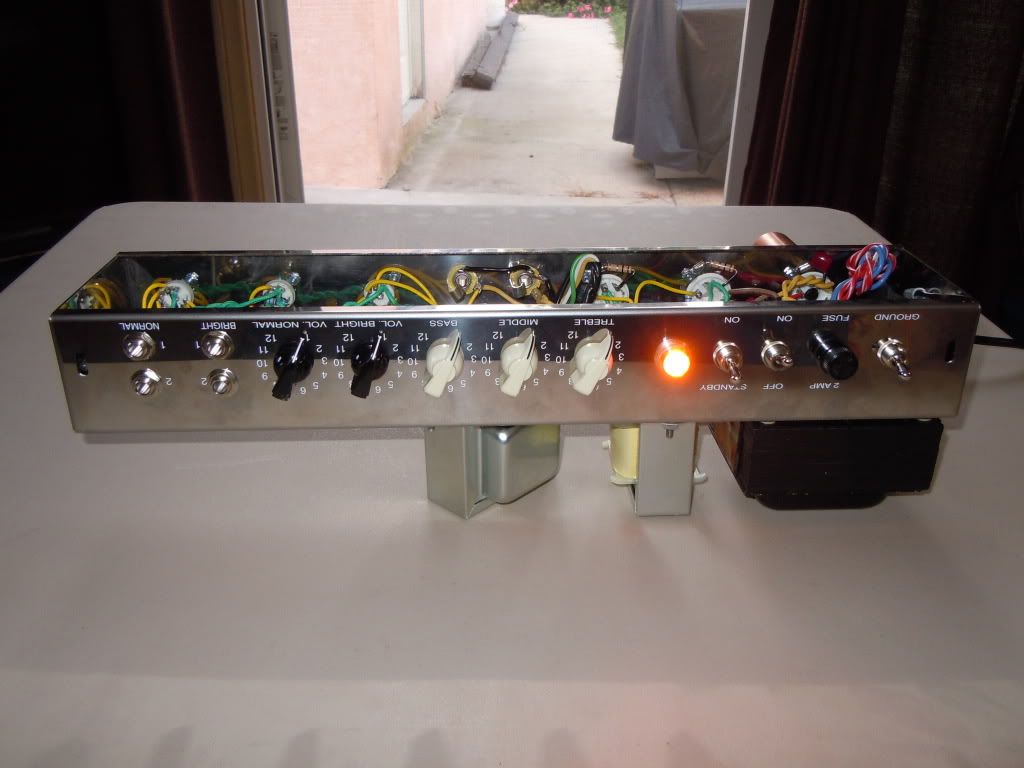
With only the copper cap installed, I turned the "Power Switch" on - Yes

Next I turned the "Stand By" on - Yes
So I measured some voltages and notated them.
I turned everything off and installed the tubes and hooked up a speaker cab. Got my guitar and ran a cable to the amp.
Power On - wait - Stand By On - sweet - increase volume control - Yes - SOUND!!! Woo Hoo

:rawk:
As I start to mess for a few seconds, a rumbling howl begins. Shit.... Shut the Stand By off. Turn amp off. Wait a few minutes and try again - howl resumes. Dang It..... I remember reading the term "NBF" - Negative Feedback. Even Prages had the same issue. So my next duty will be is to reverse the primary leads on the Output Tranny. I will do that tomorrow and fire it up again. That should solve the issue and we should be good to go with biasing the output tubes. I am happy though as now I have sound and my labor of love is almost over. I will soon start to reap the benefits of a custom built Saint amp - Wooo Hooo!
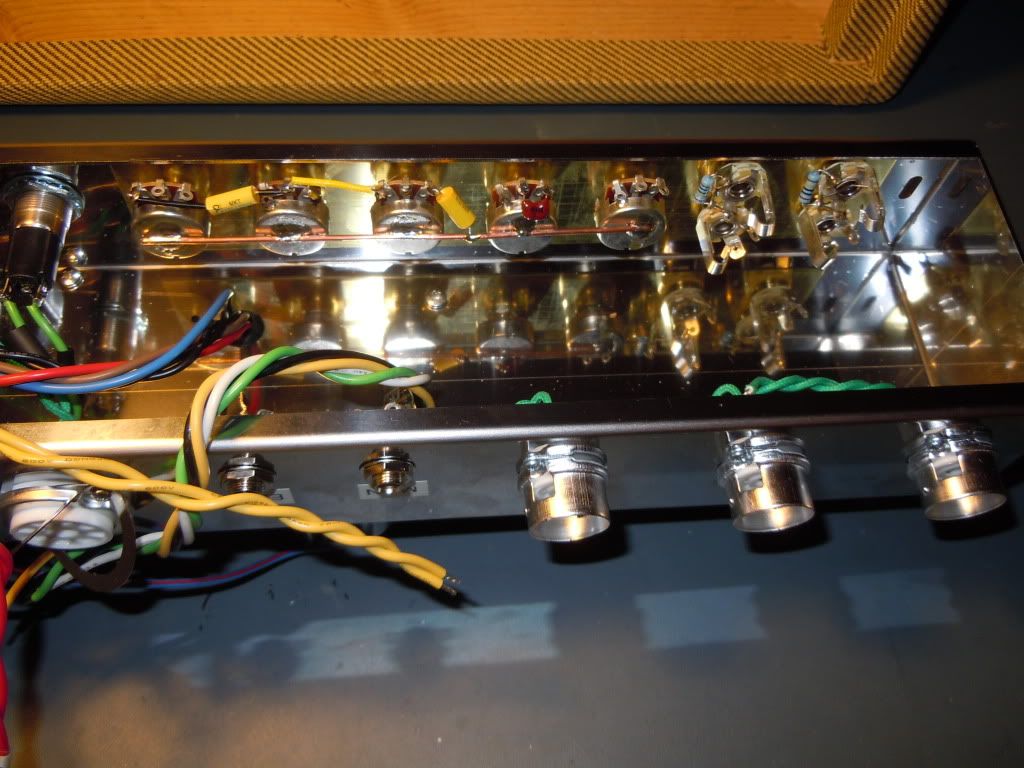
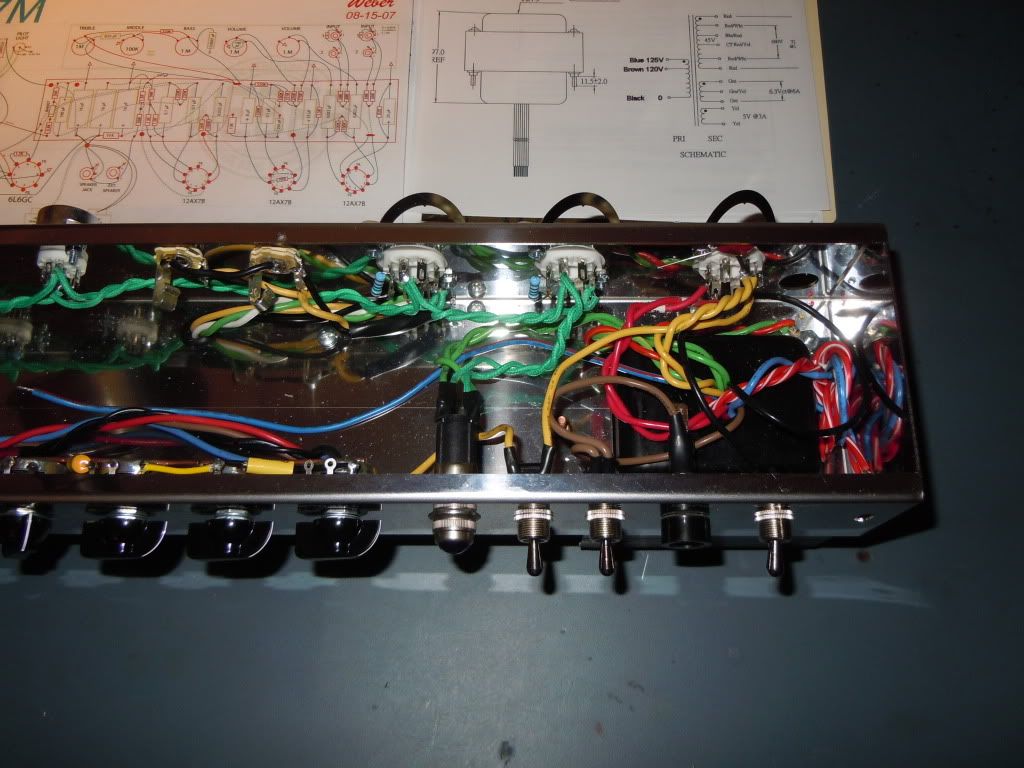
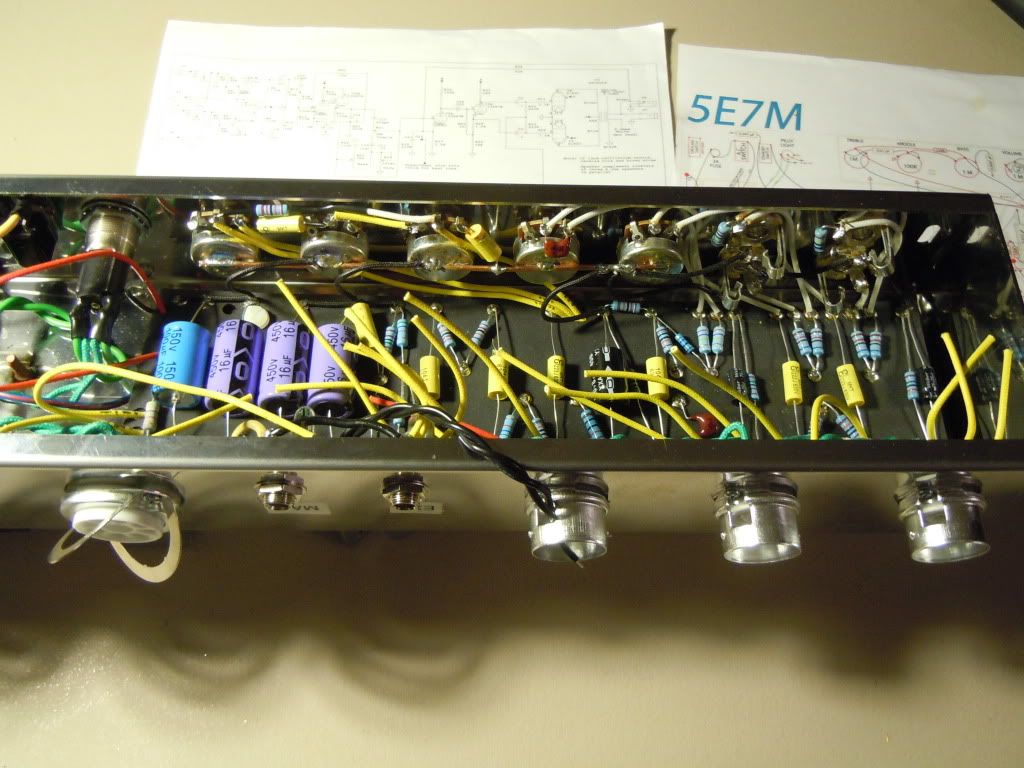
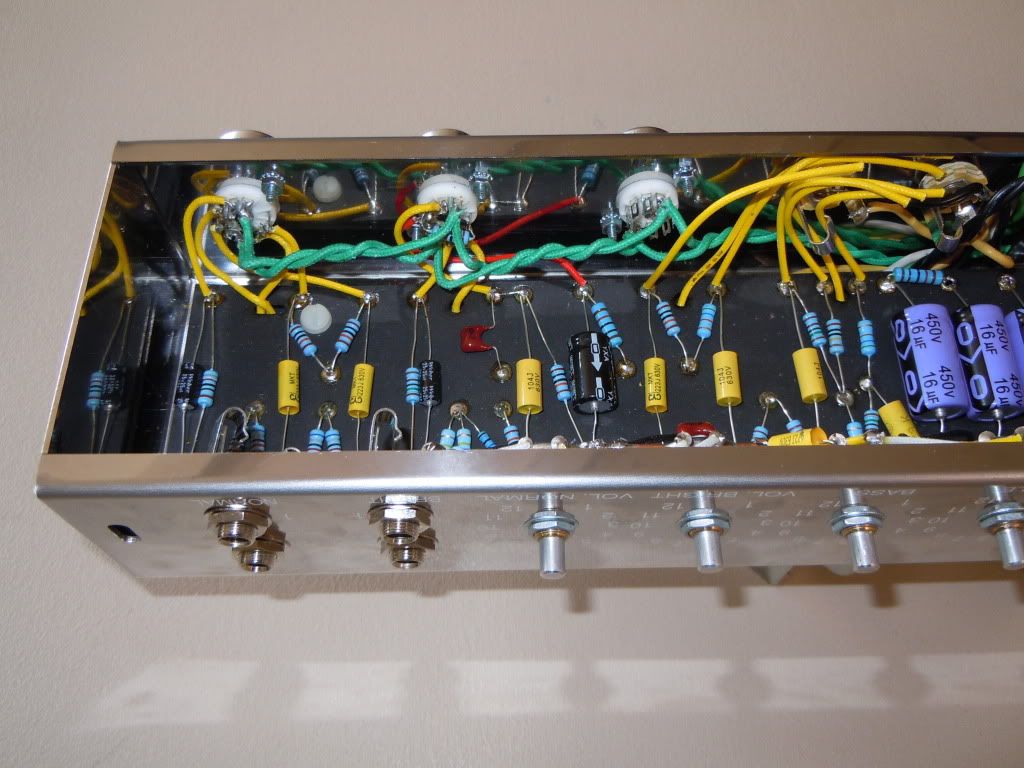
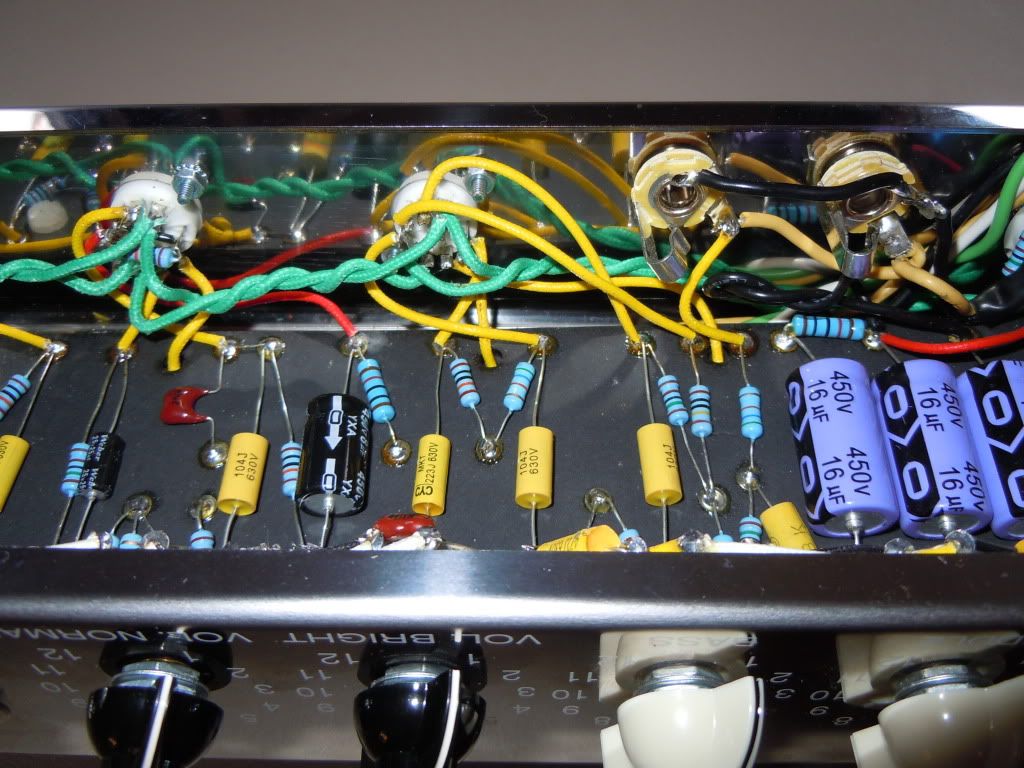
The following pics show the remainder of my build.
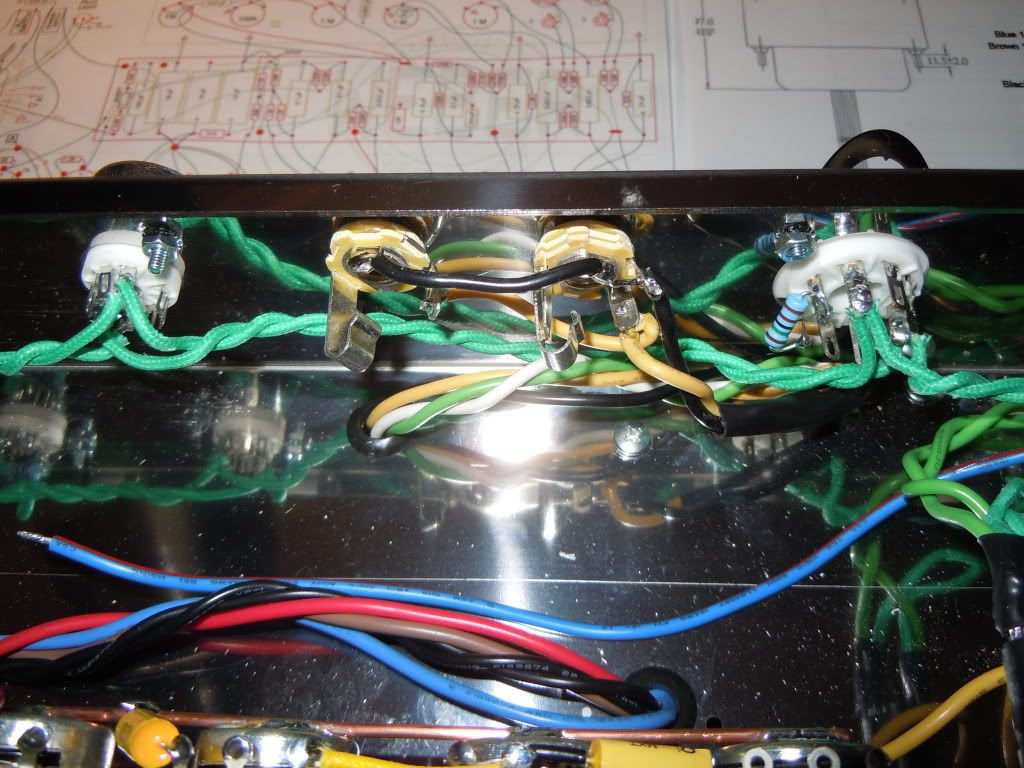
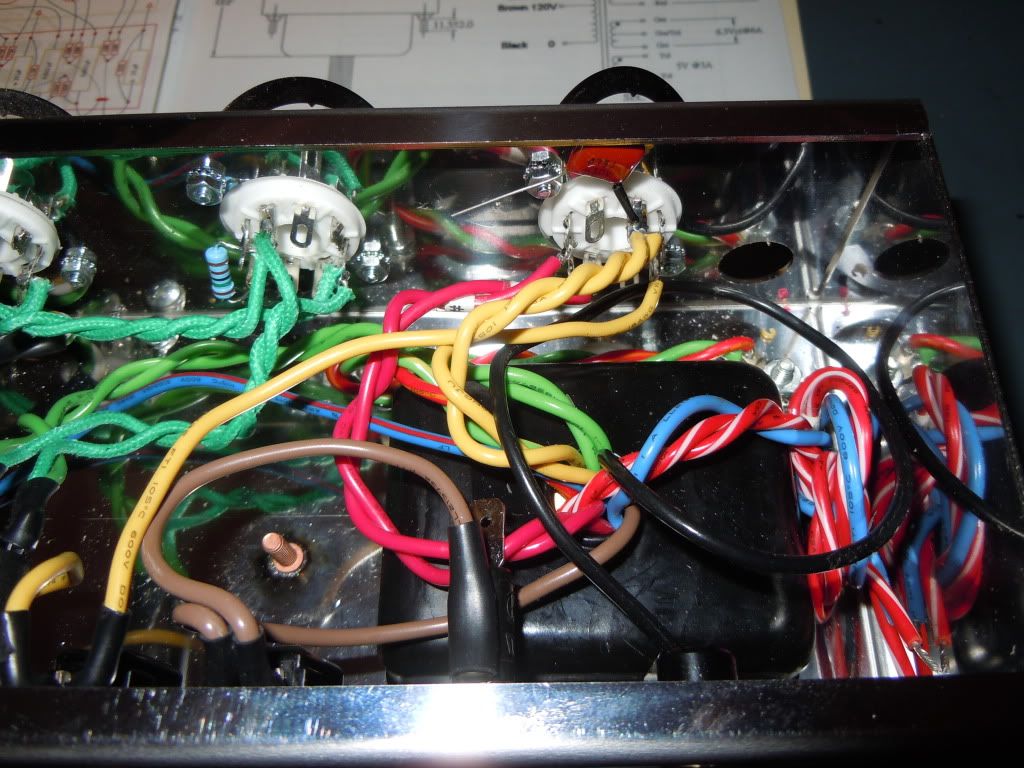
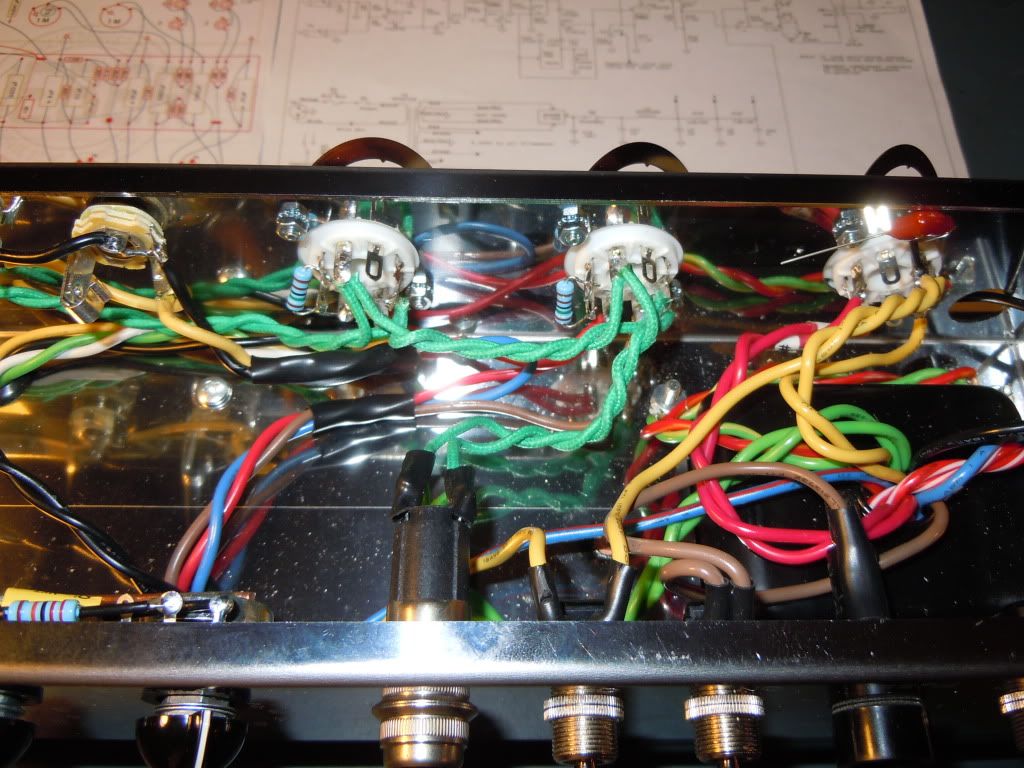
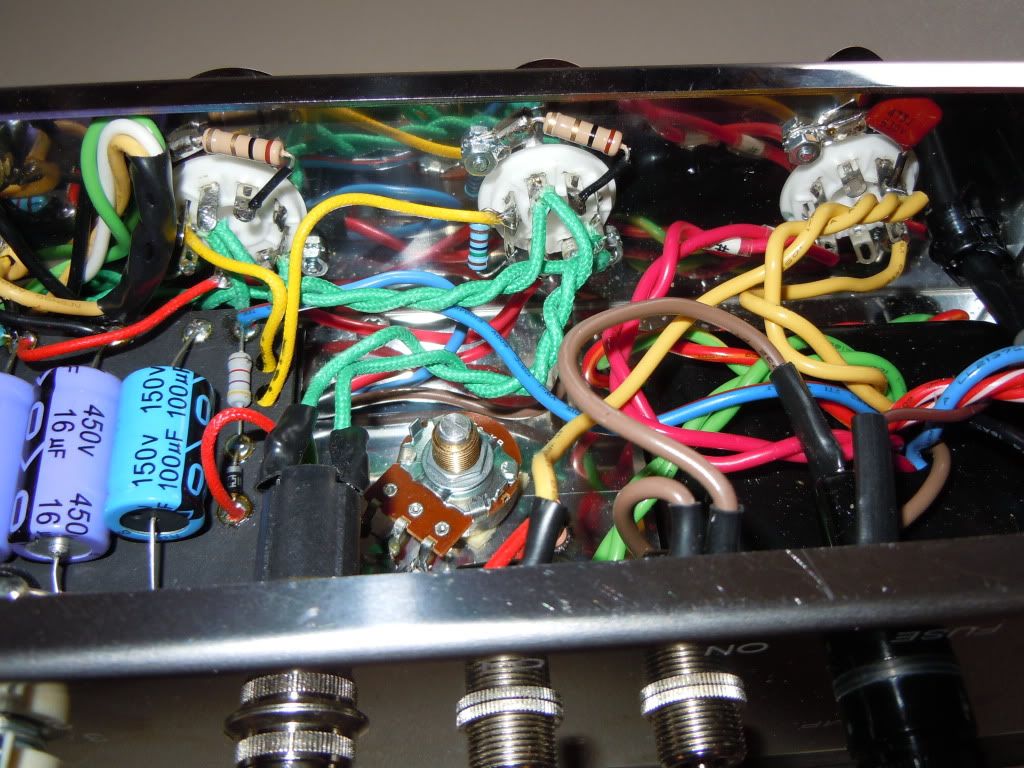
V3 Wired Up
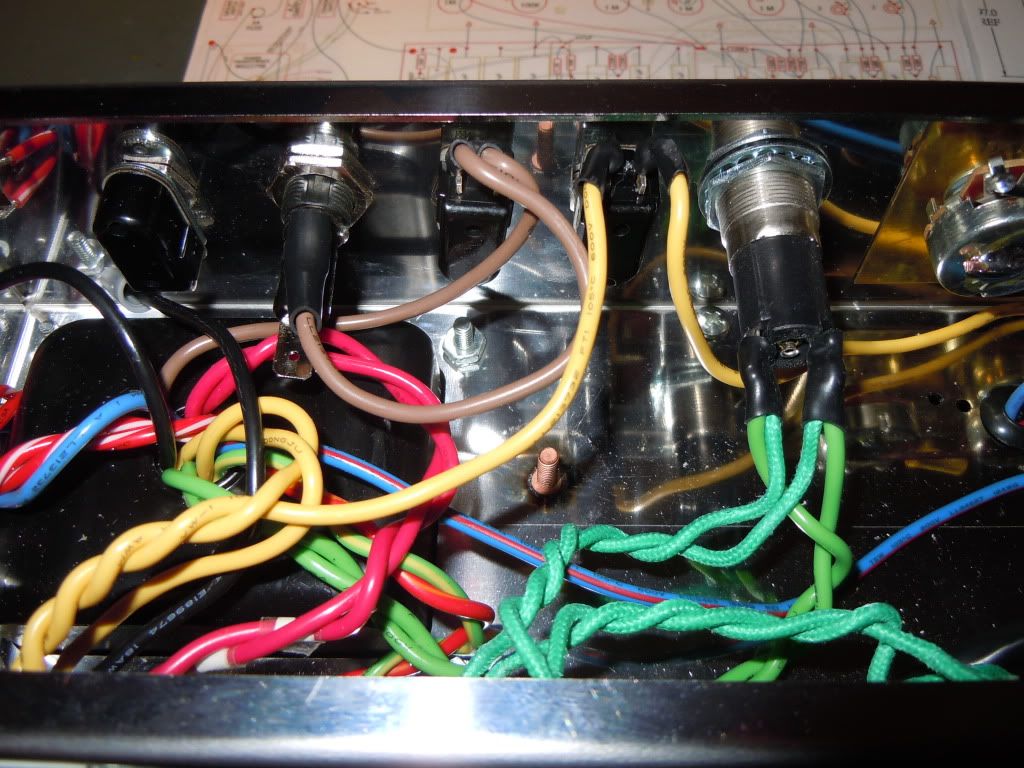
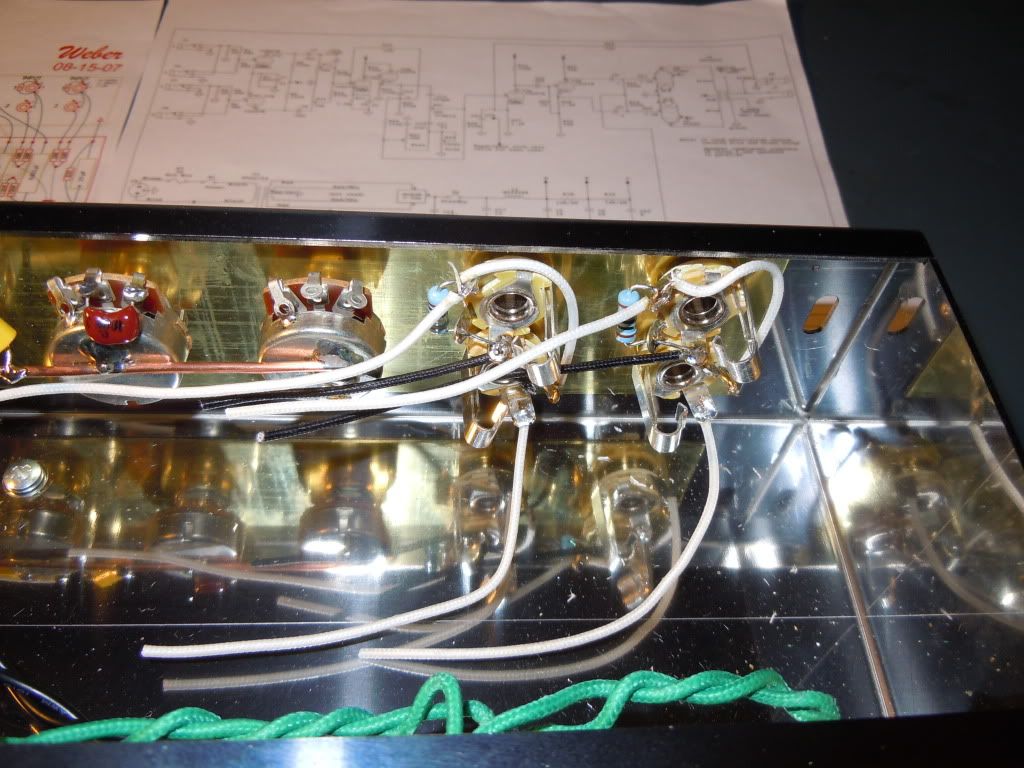
Fixed Bias Adjustment Installed
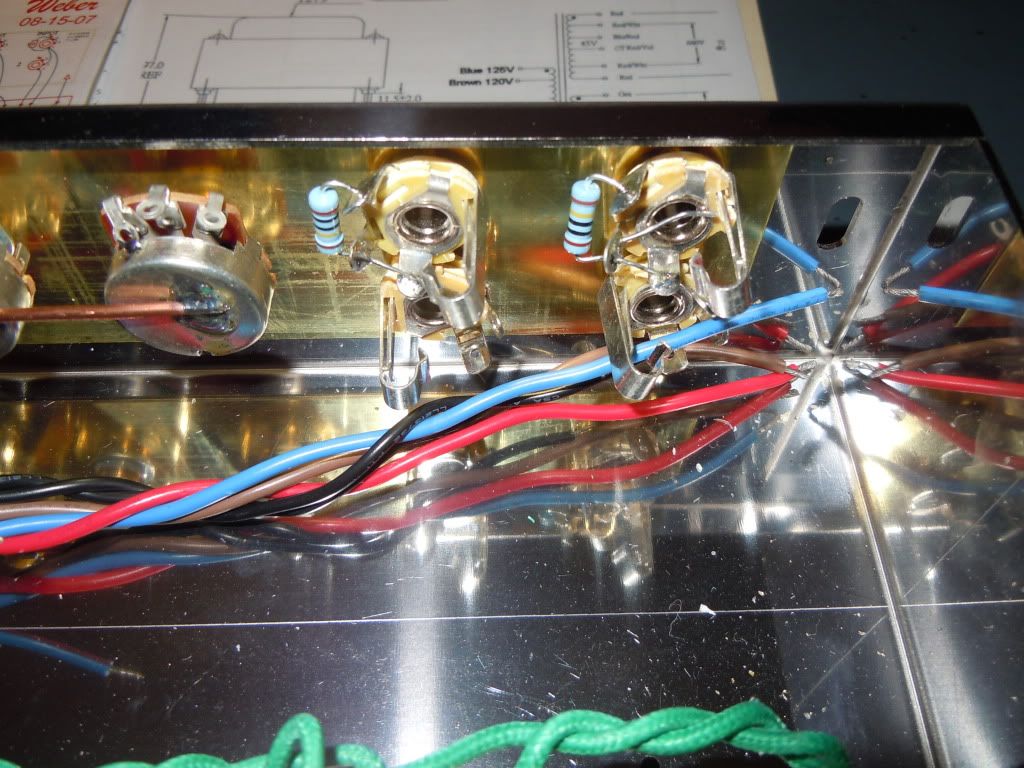
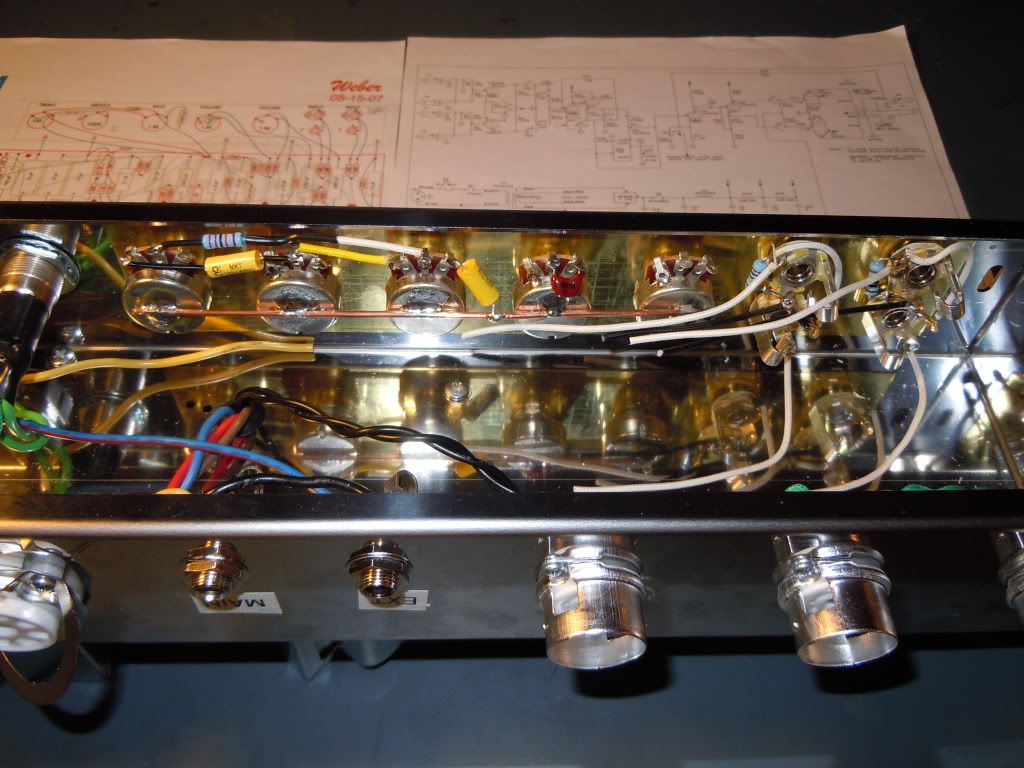
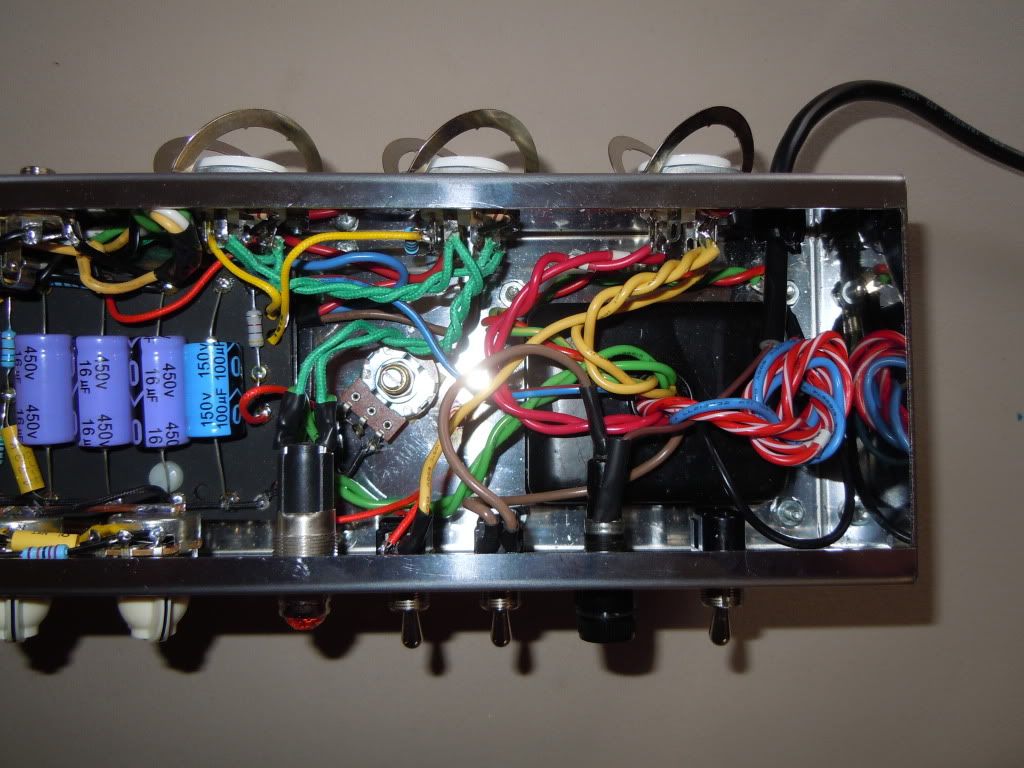
Chassis - Right Side
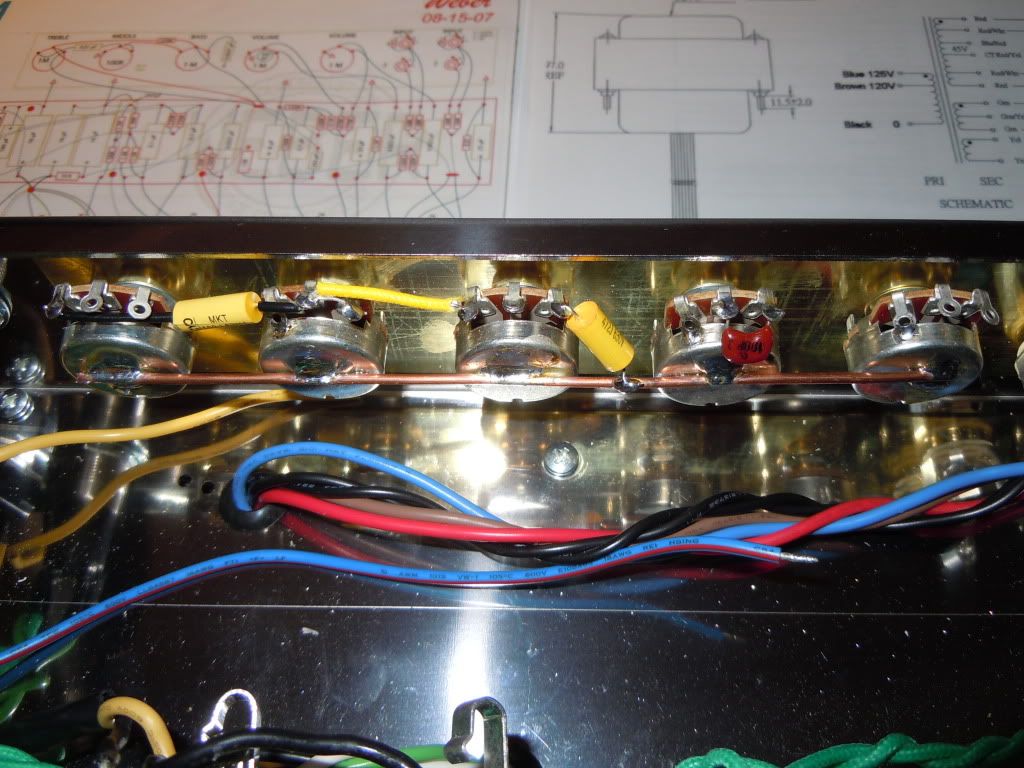
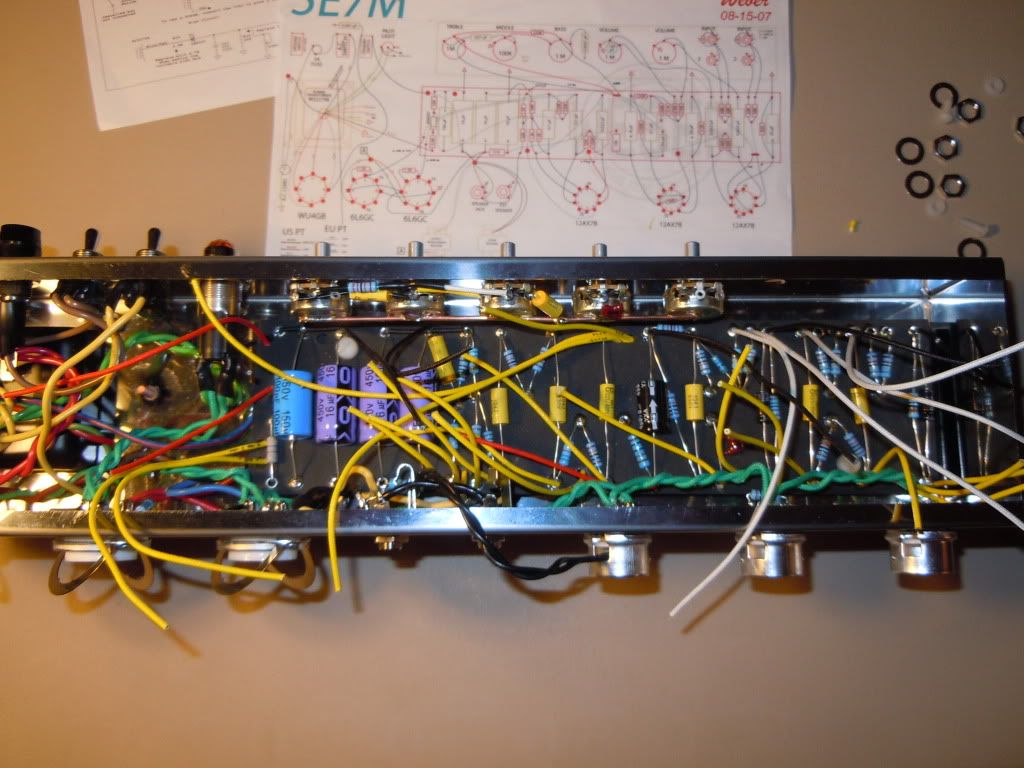
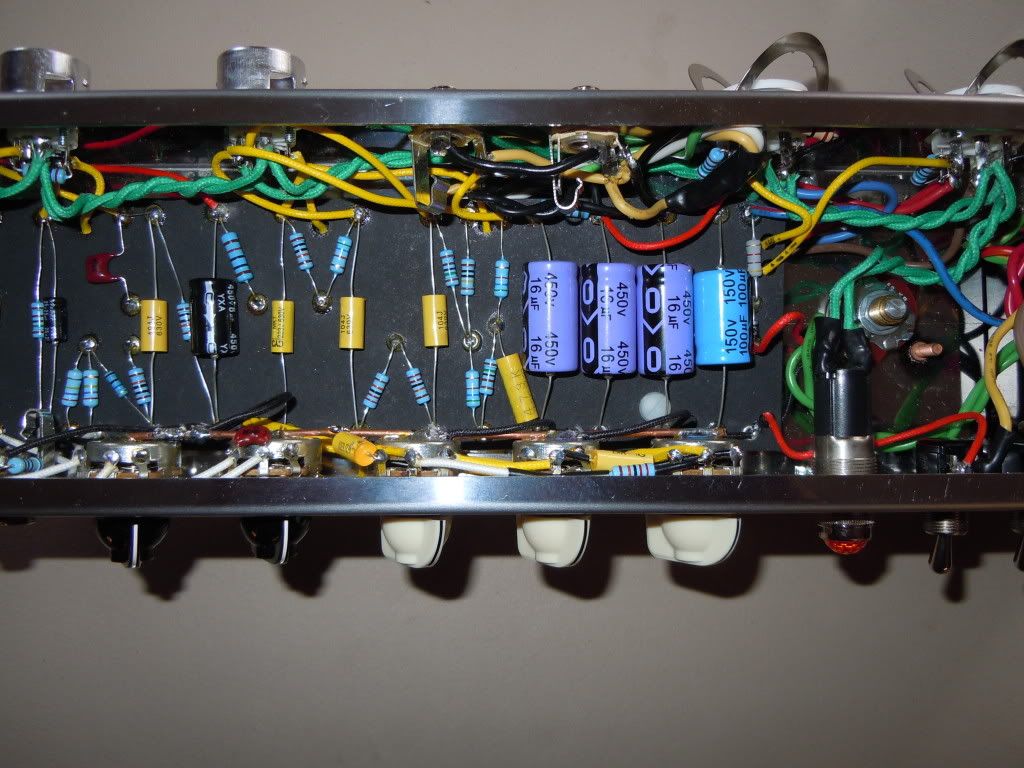
Chassis - Middle
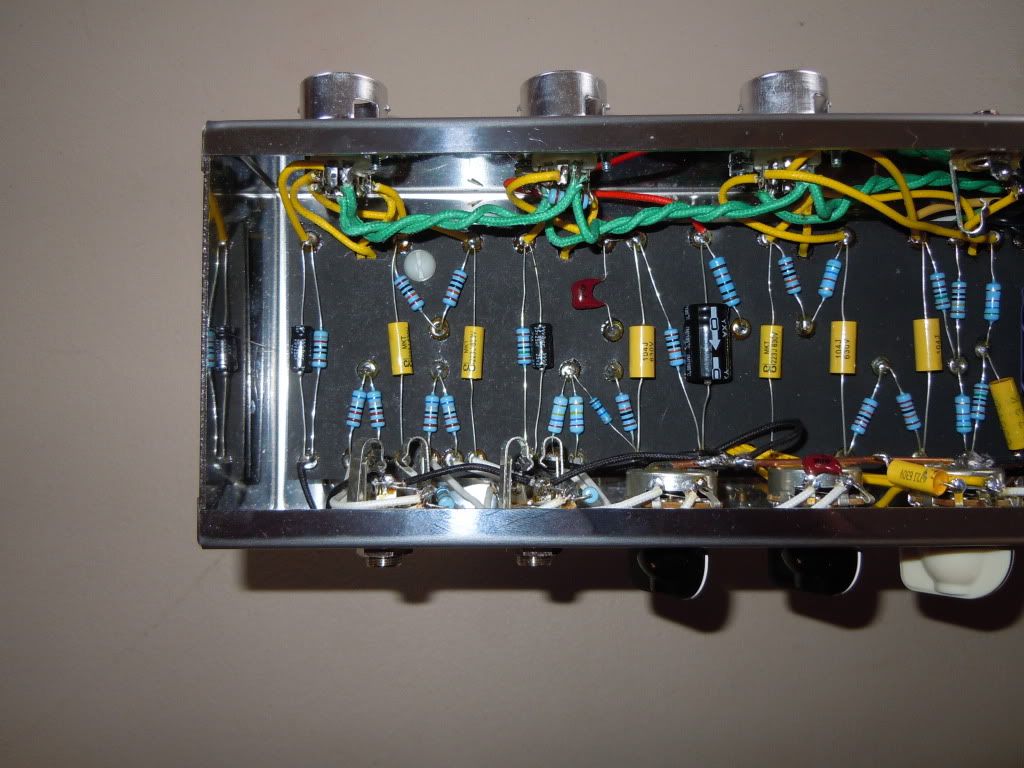
Chassis - Left Side
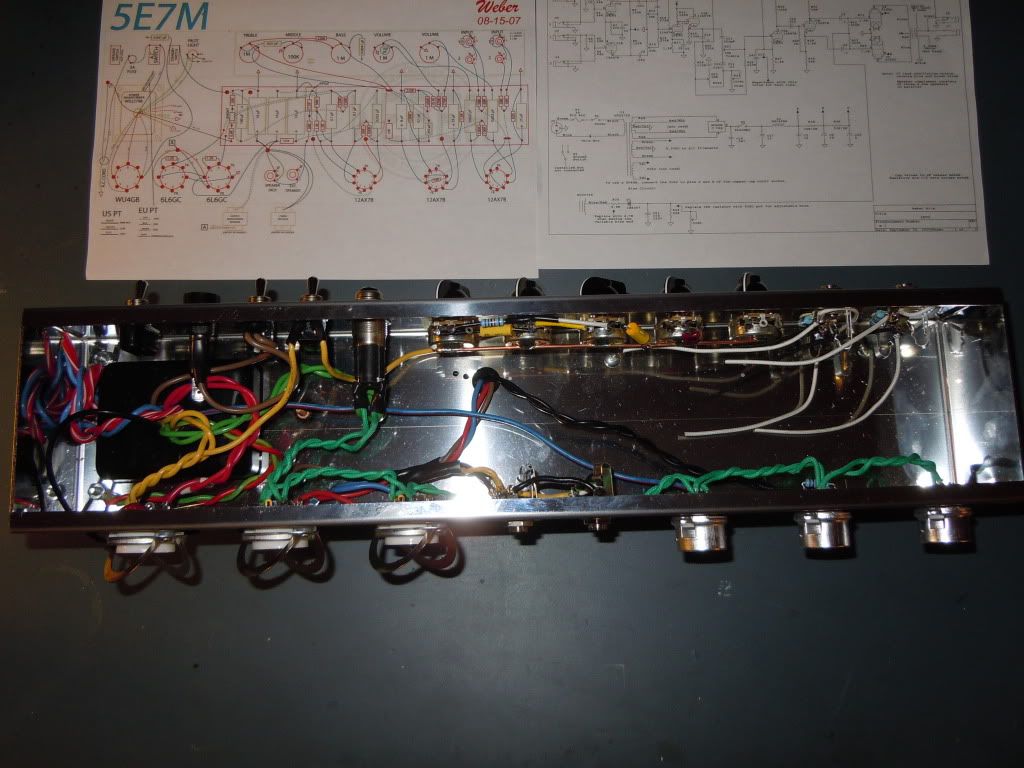
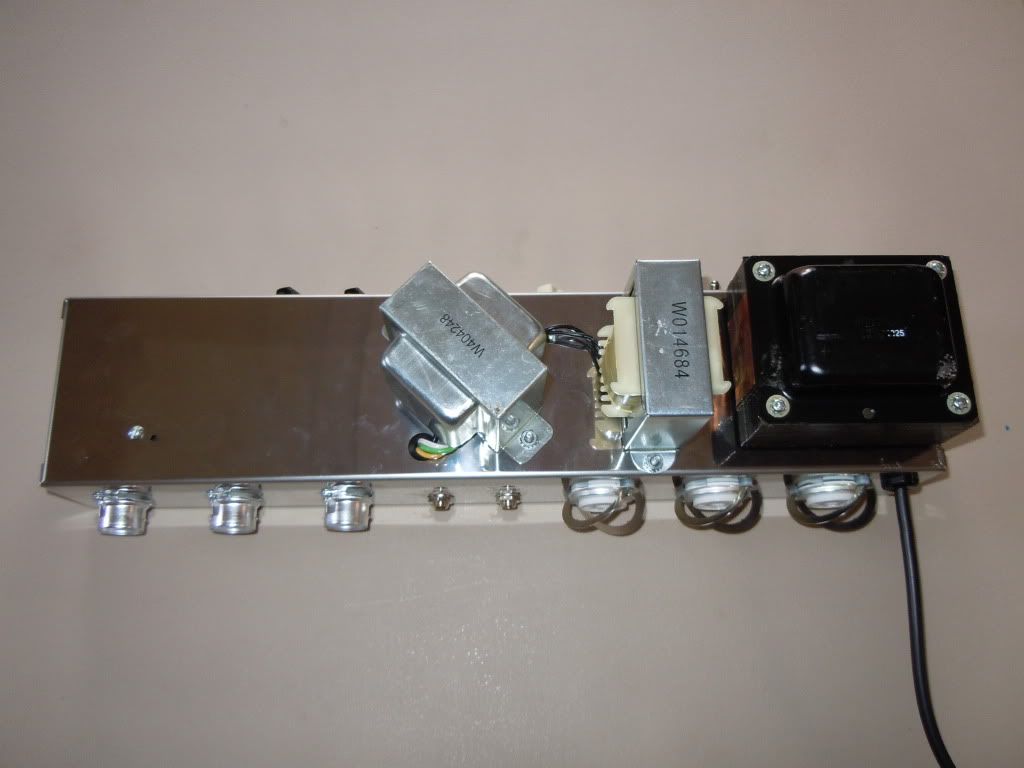
Top Shot - Front
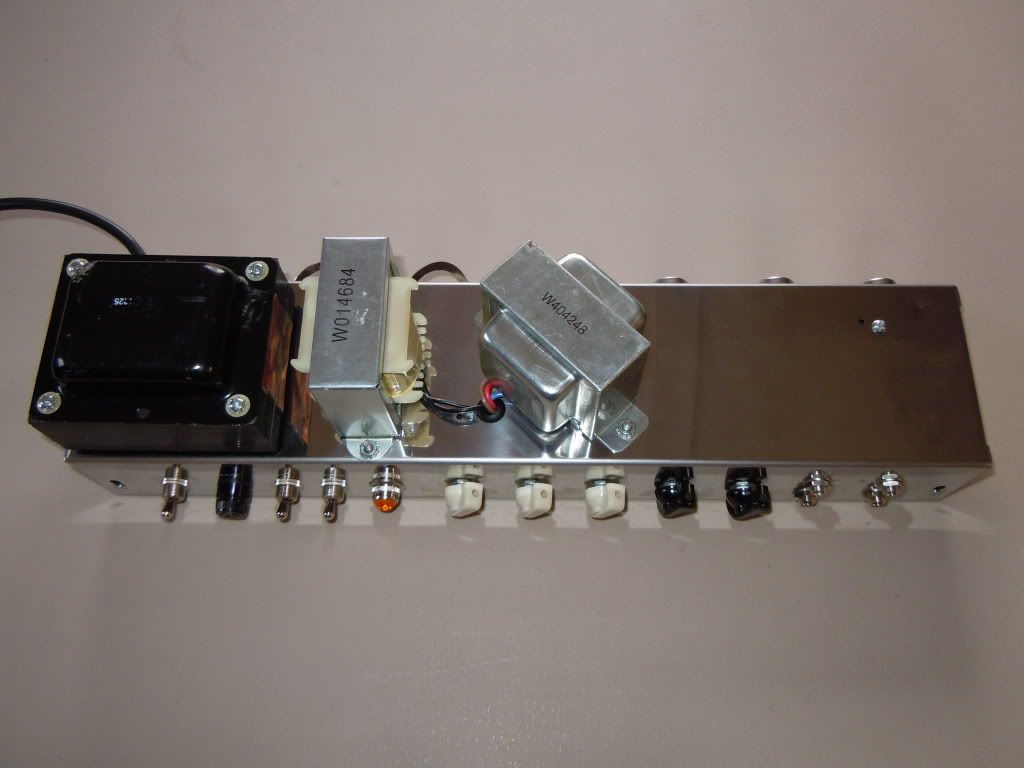
Top Shot - Back
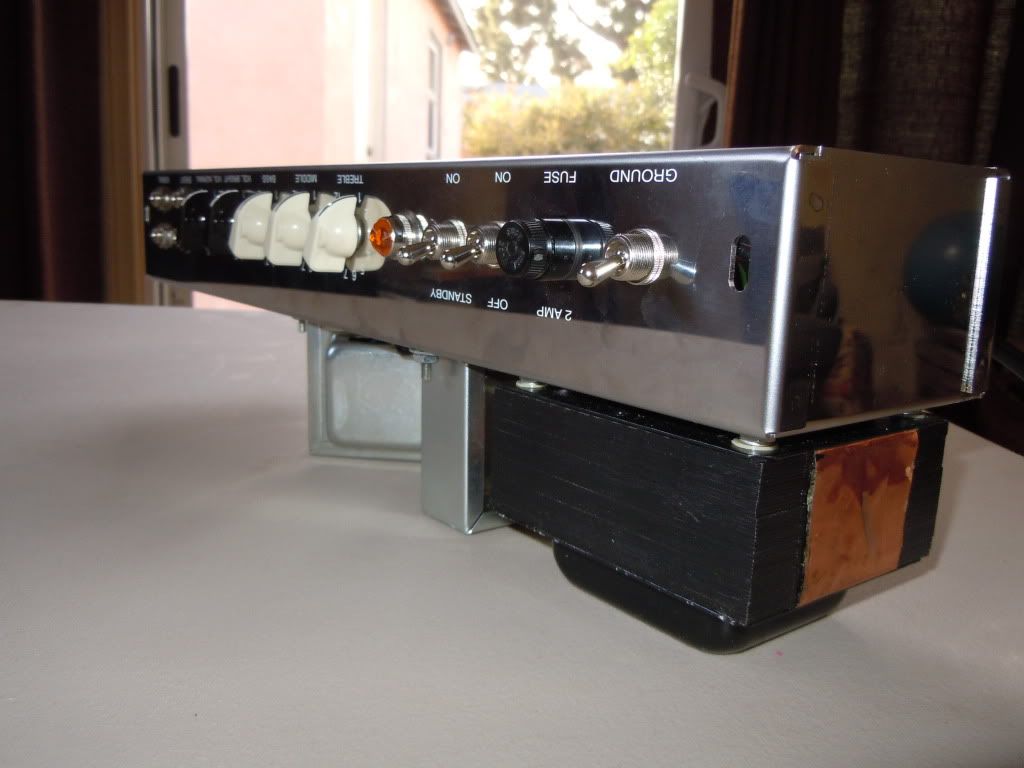
3/4 Front Shot
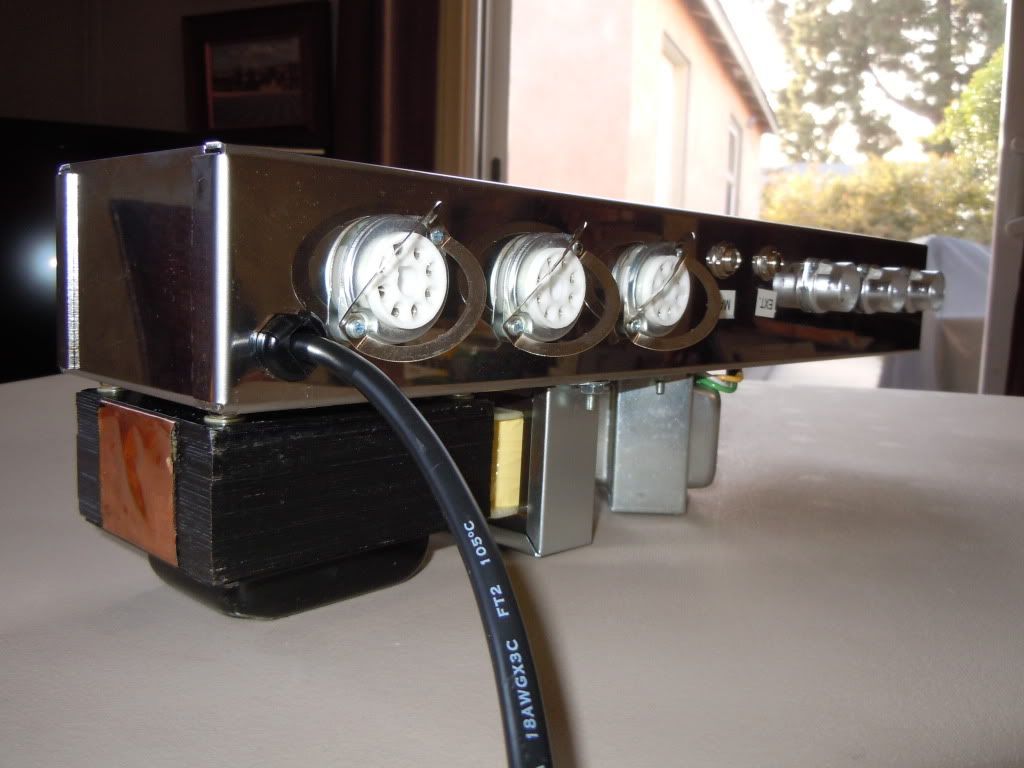
3/4 Rear Shot
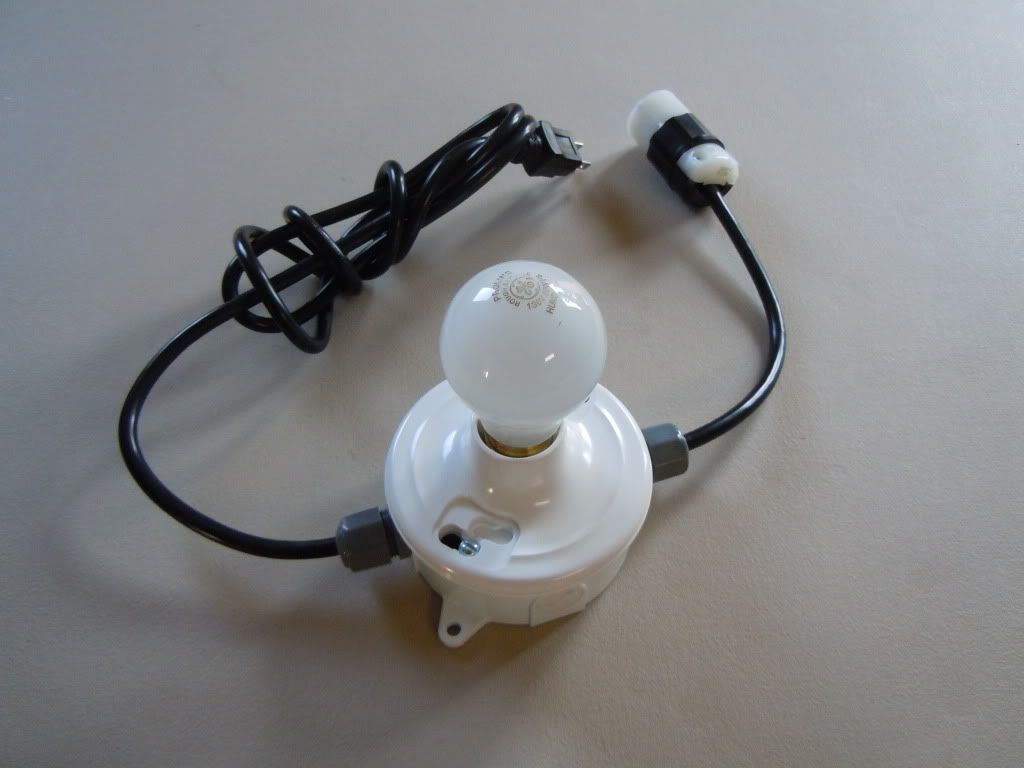
Light Bulb Limiter
The Power is On - Woo Hoo!!!


 - 370VDC. Pull out my Groove Tube book and look at the 5E7 schematic - hmmmm - supposed to be around 410VDC. Measure the 1 ohm resistor on V5 I get - 45mV - not bad a little low. Measure the 1 ohm resistor on V4 - 110mV - WTF
  - shut the standby off.
 , keep calm. So today I am going borrow a meter from work to verify. I will also stop by to see if I can get a 1% 1 ohm resistor. The ones I have in there are 5% jobbers. Gotta give it whirl as it is troubleshooting time.