telecaster911
Kick Henry Jackassowski
Well, I might as well get this under way.
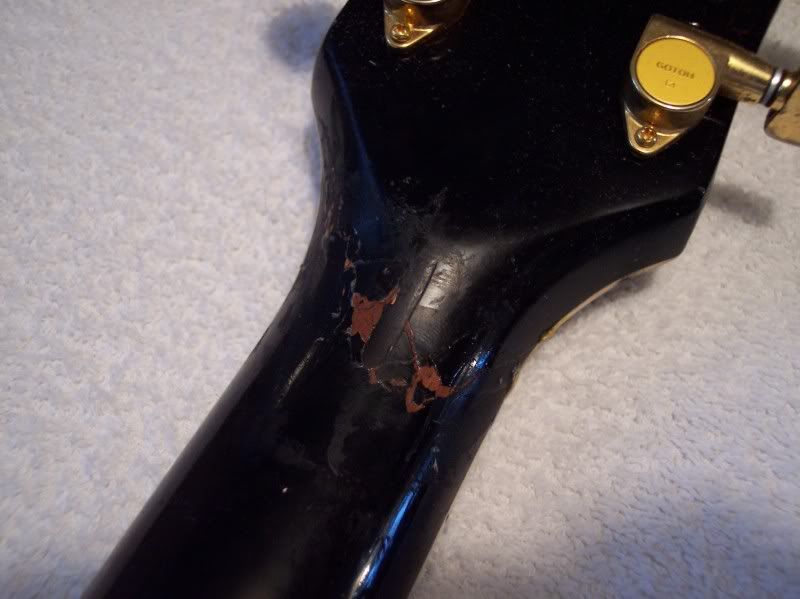
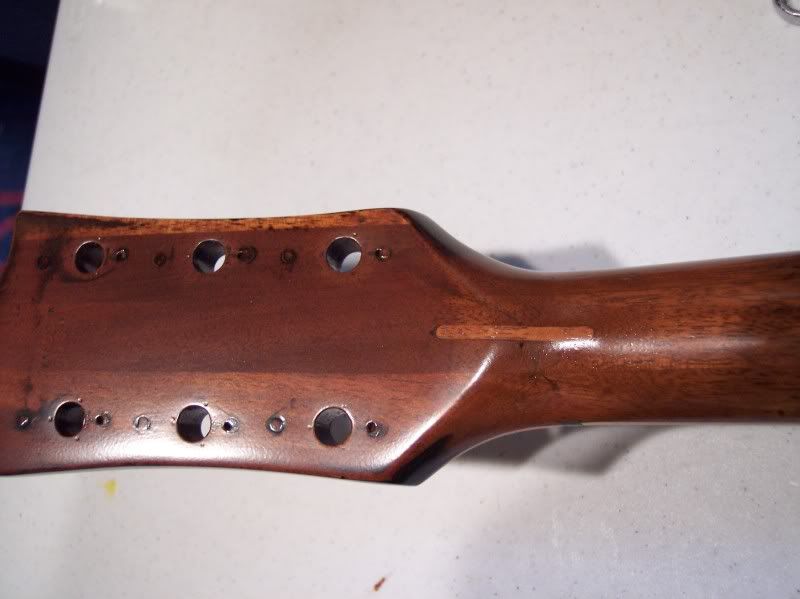
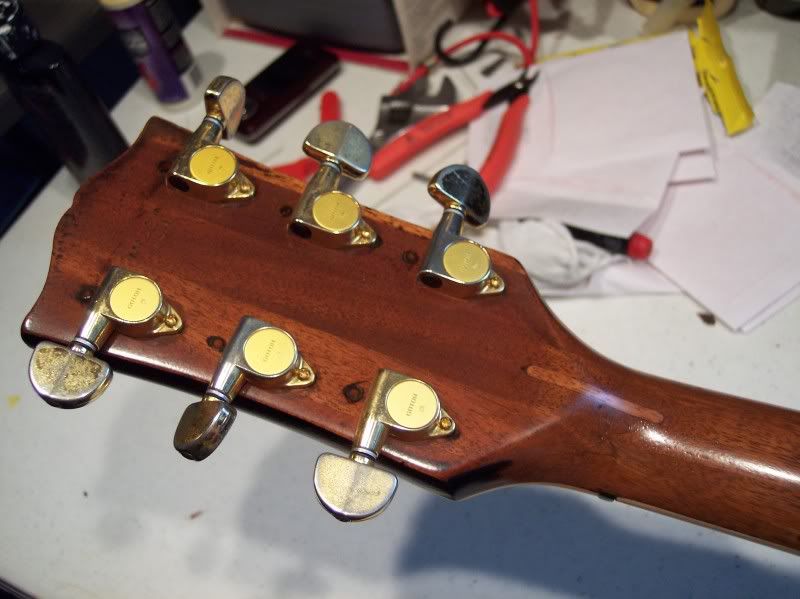
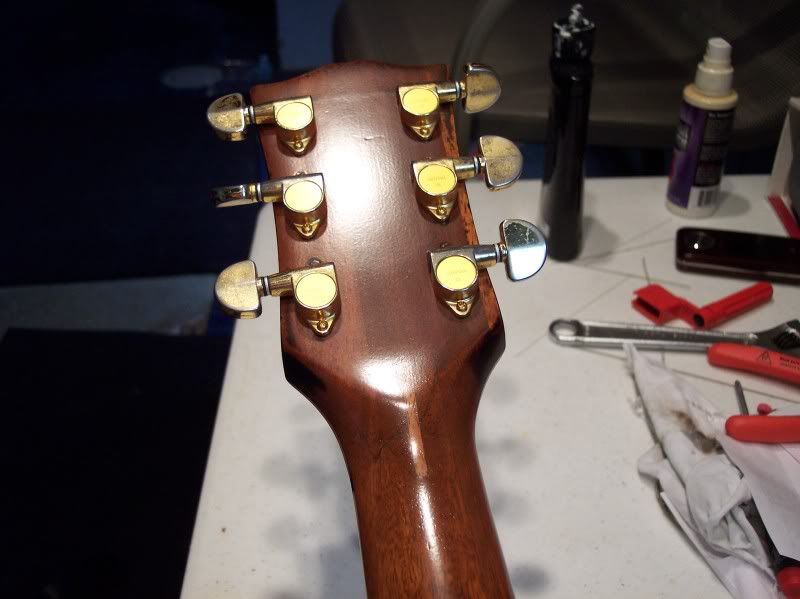
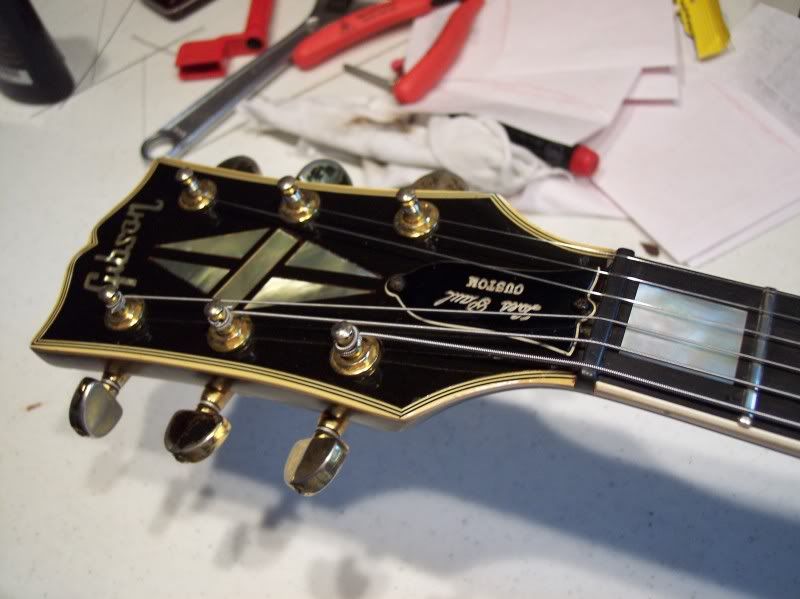
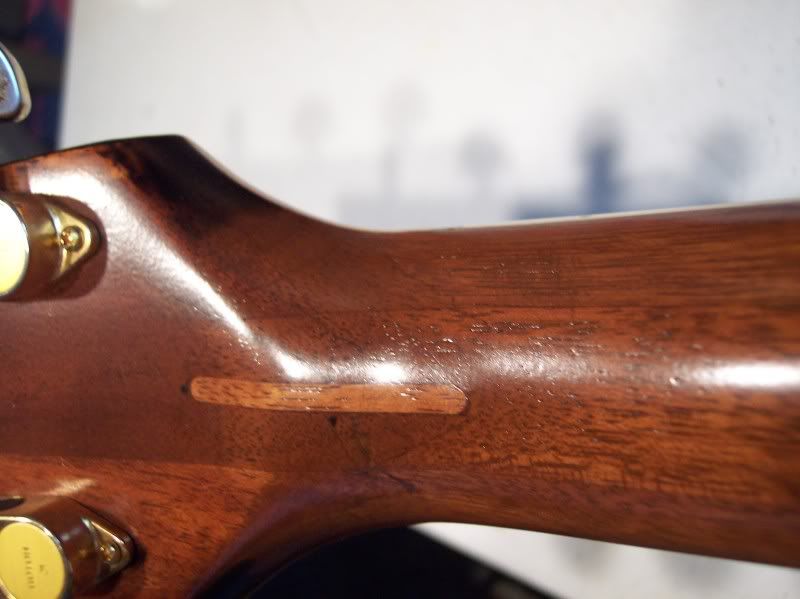
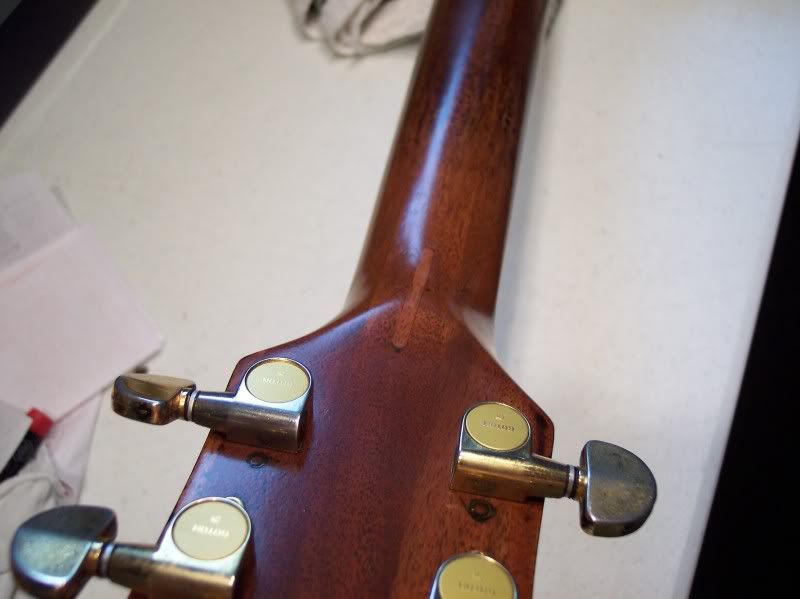
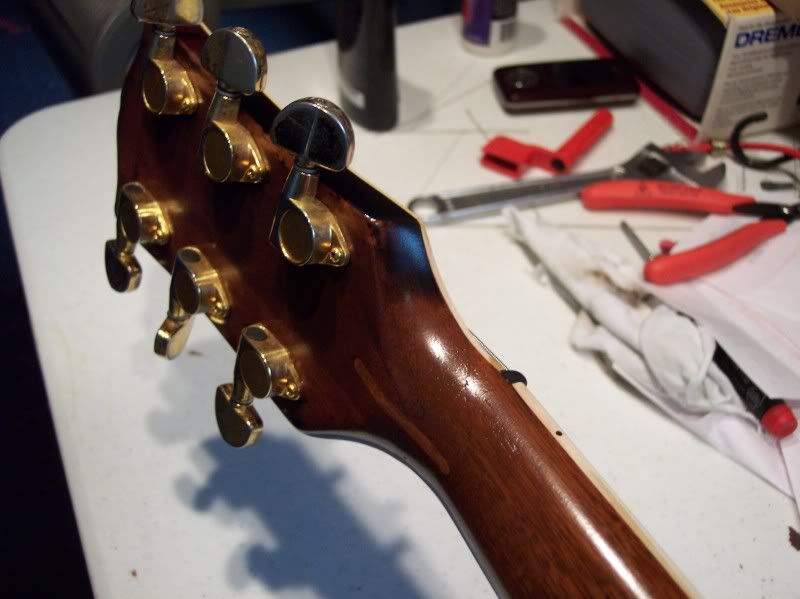
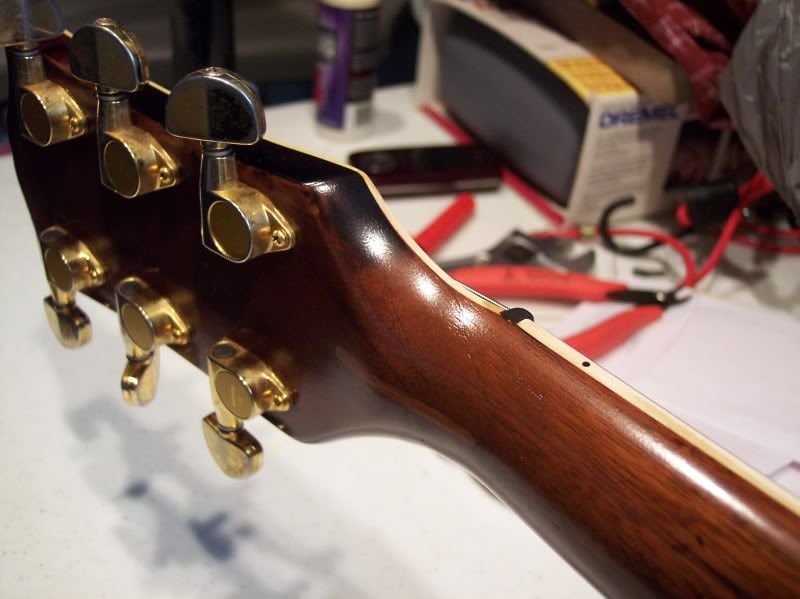
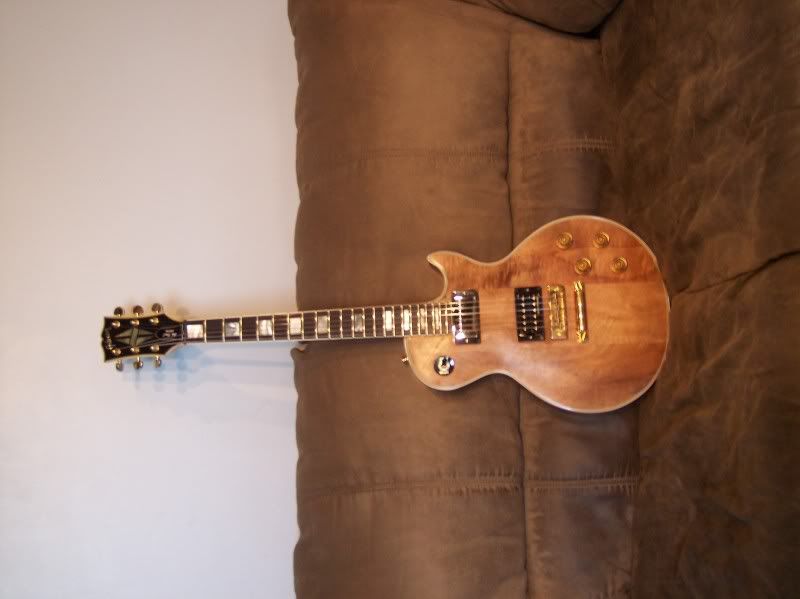
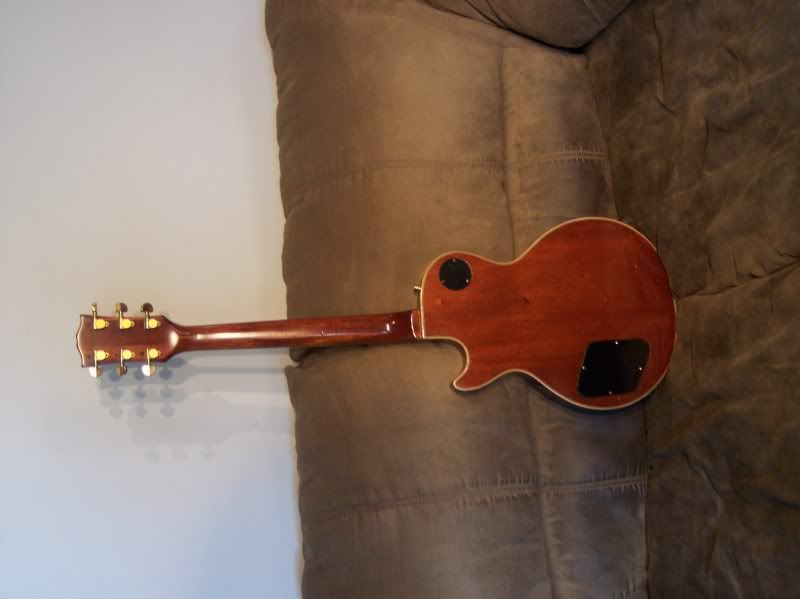
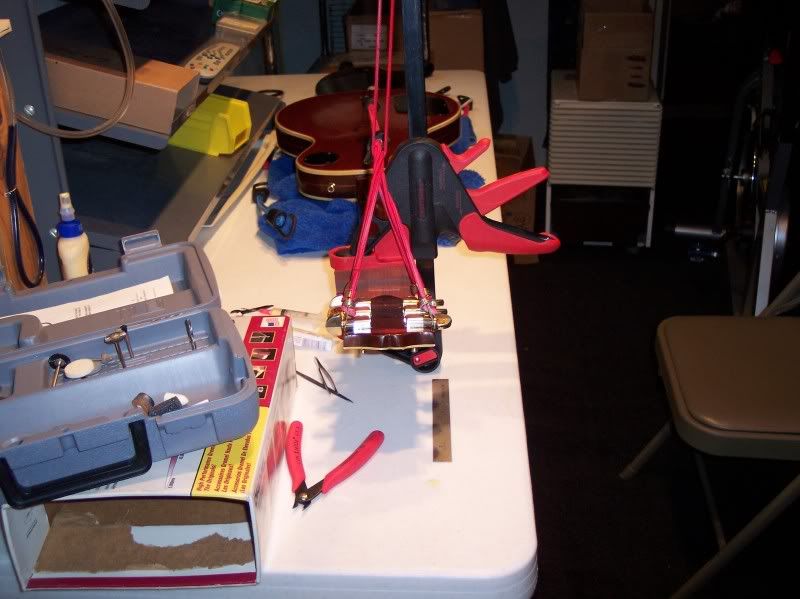
Here are a couple of pictures just before the repair. On one hand, it probably would have been better if it were all the way off. It was just a little more difficult pumping the glue in.
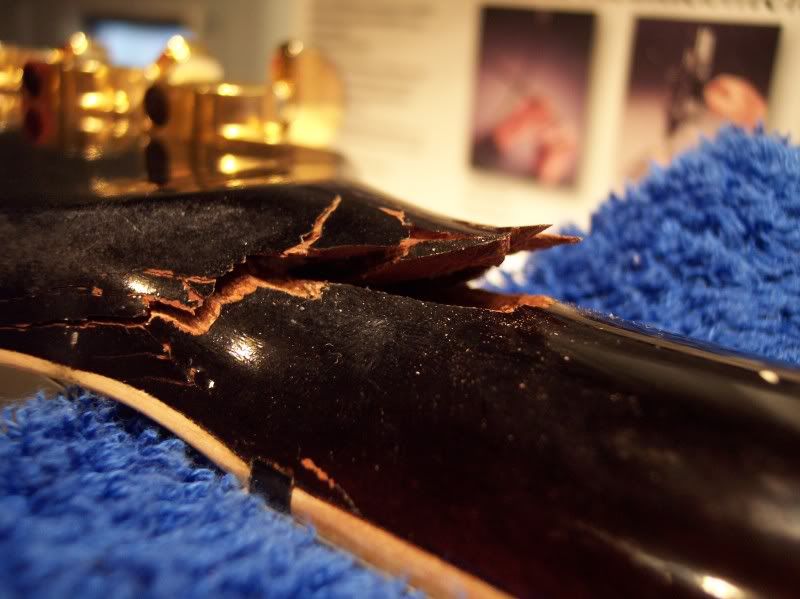
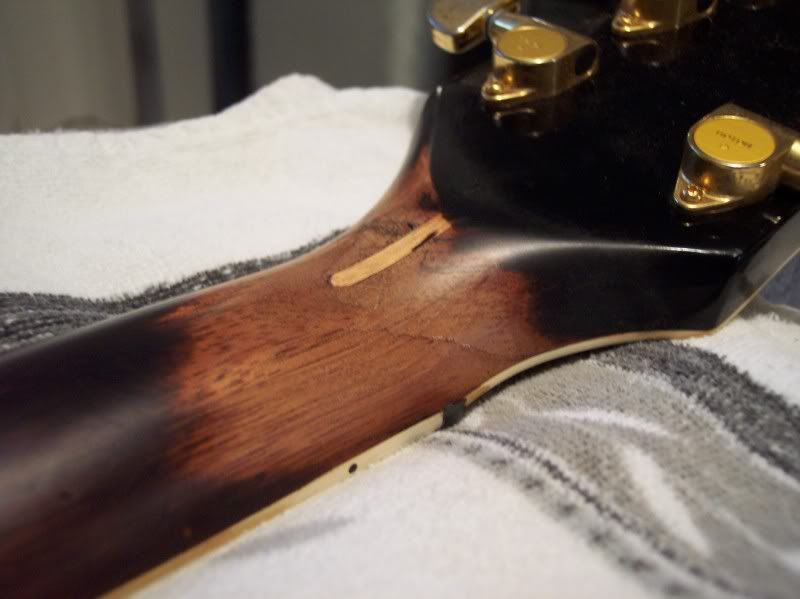
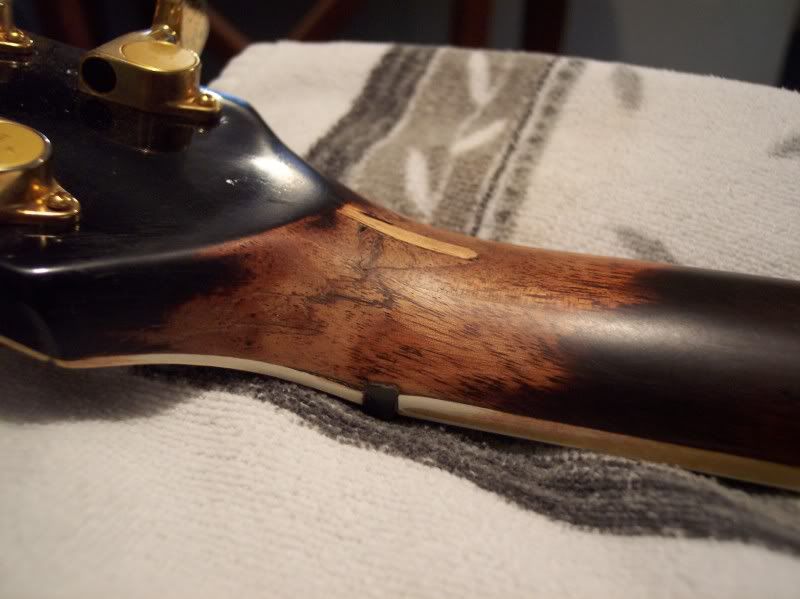
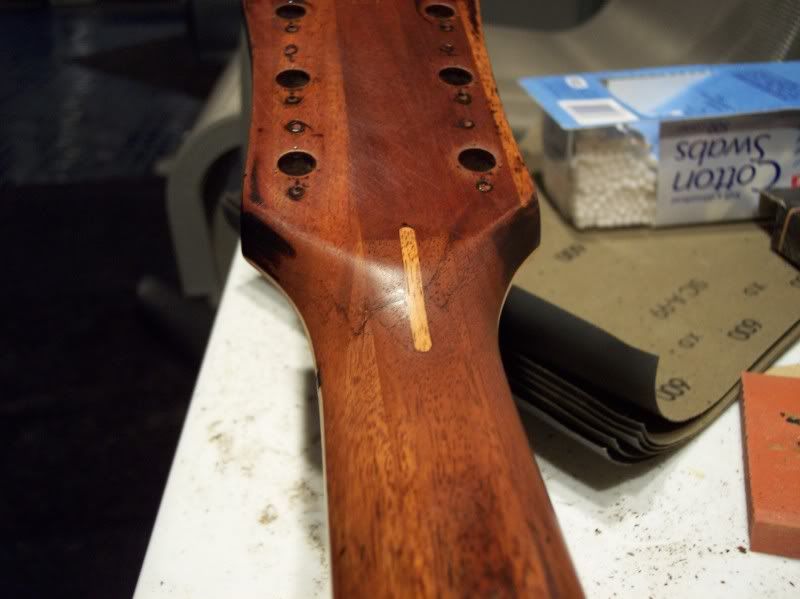
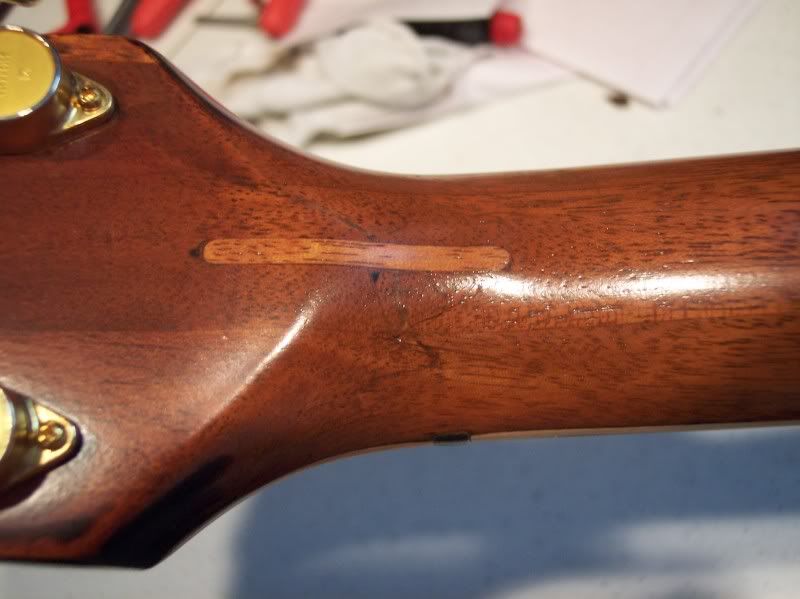
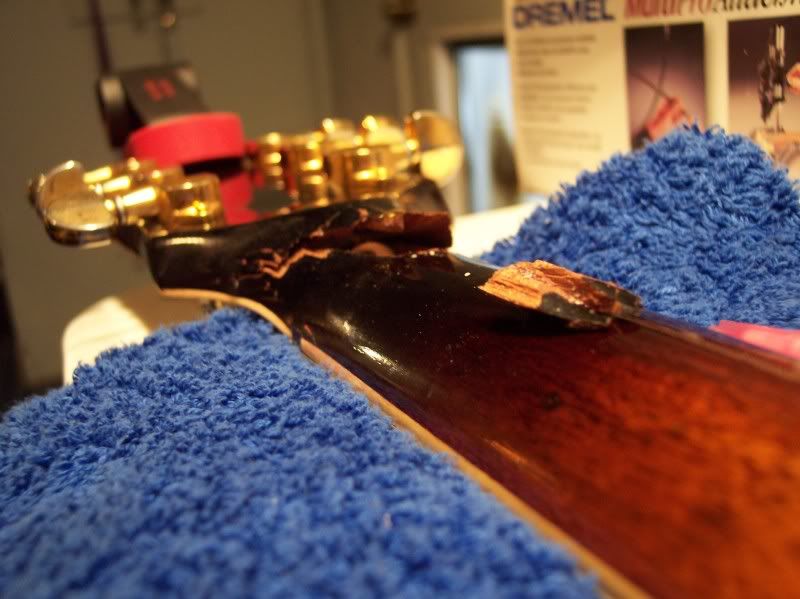
Here's one showing the two pieces of the puzzle that had to be inserted.
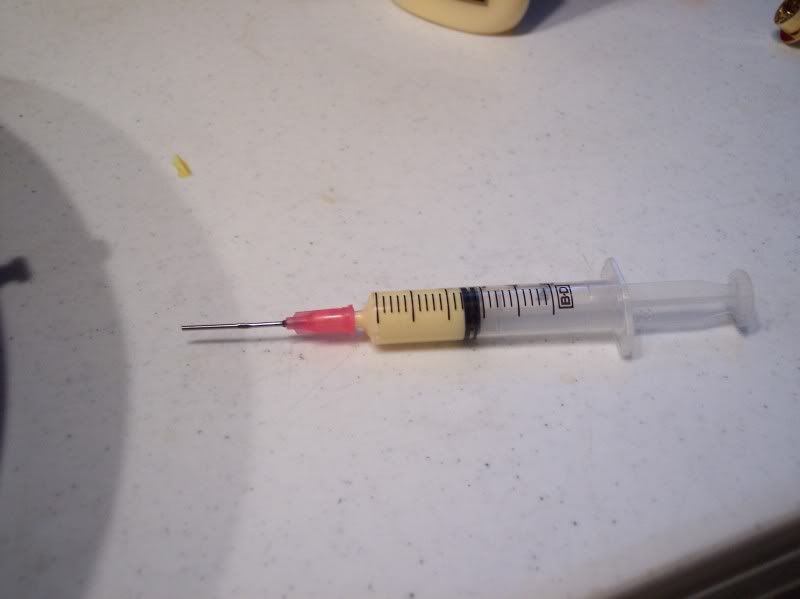
The glue syringe with Titebond
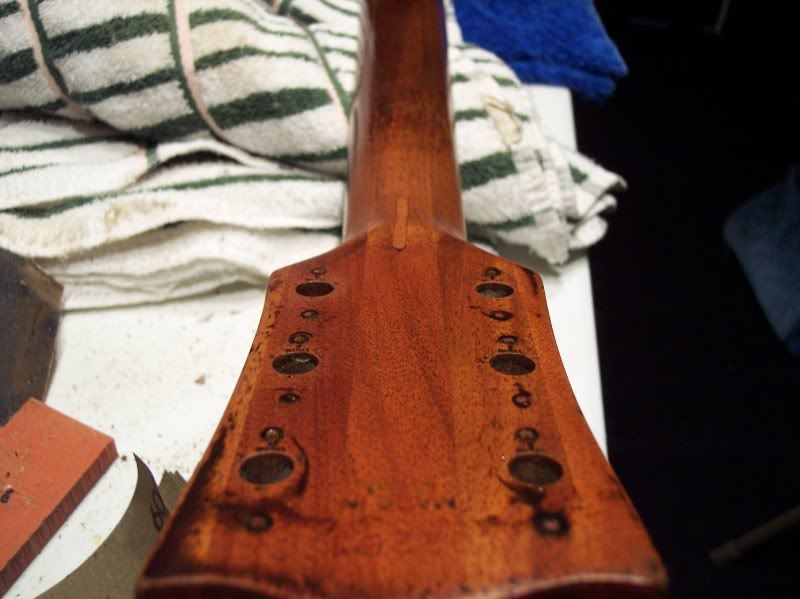
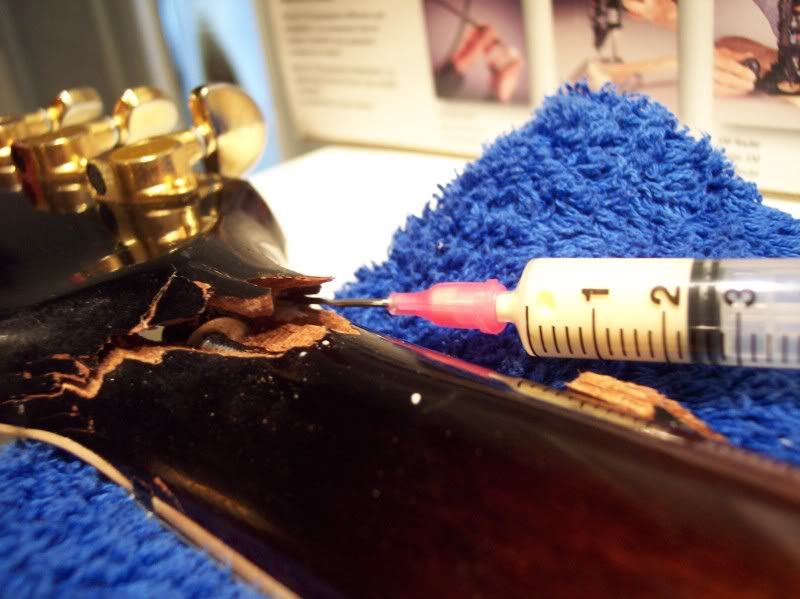
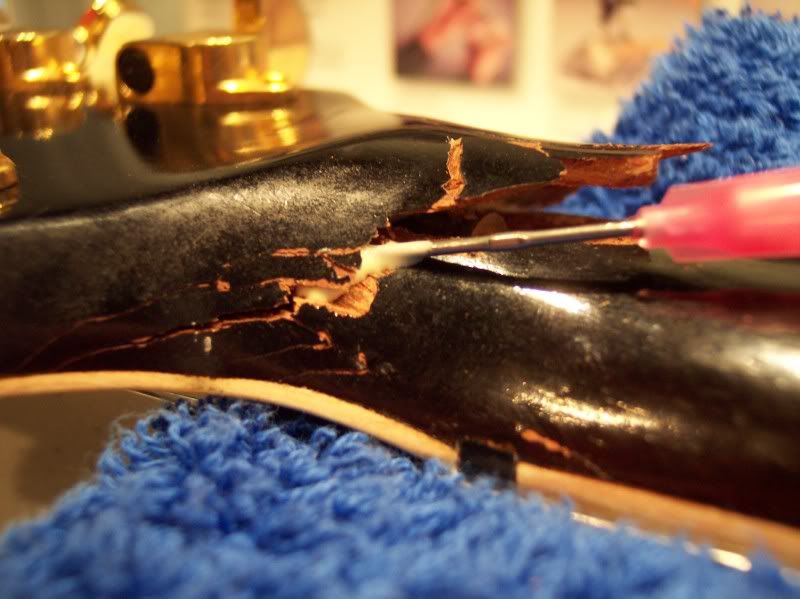
Pumping the cracks full of glue. When the glue oozed out, I covered the section of the crack with my finger until eventually the glue oozed out from the very end of the crack. I could get the syringe all the way to the bottom of the cracks either from the direction you see or through truss rod counterbore area.
Then I carefully inserted the pieces covered with their own glue and slowly pulled the headstock back into position.
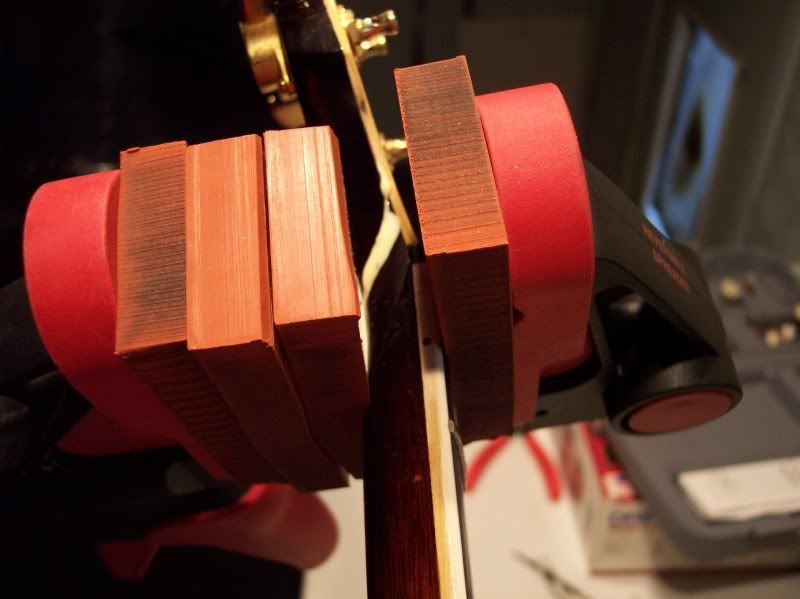
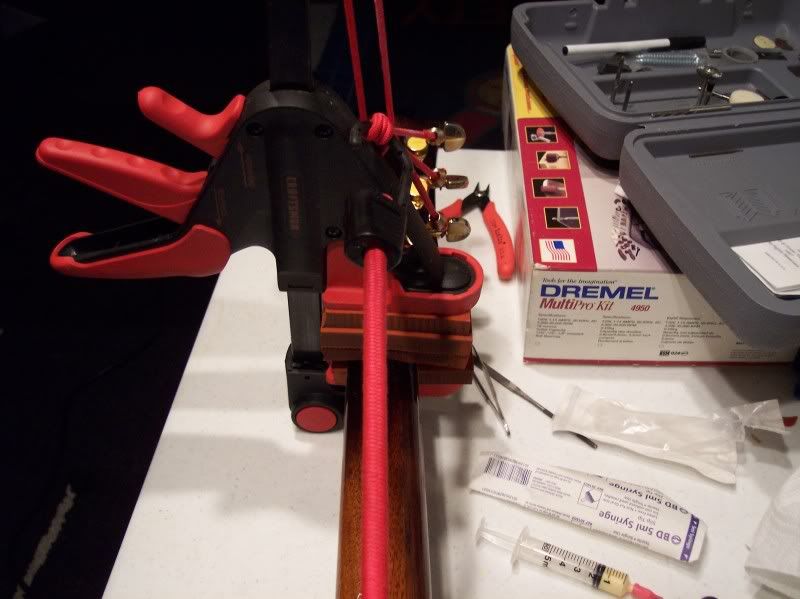
Once I was satisfied that the pieces were were they should be, I clamped the joint using stiff elastomer blocks that followed the contour of the neck and hopefully providing clamping power along that profile. At least that is my plan. It looks to be doing what I thought.
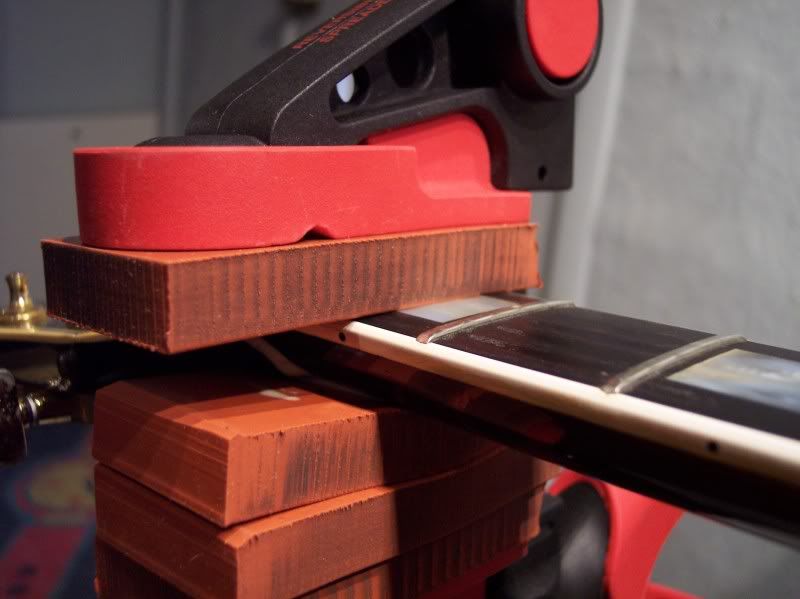
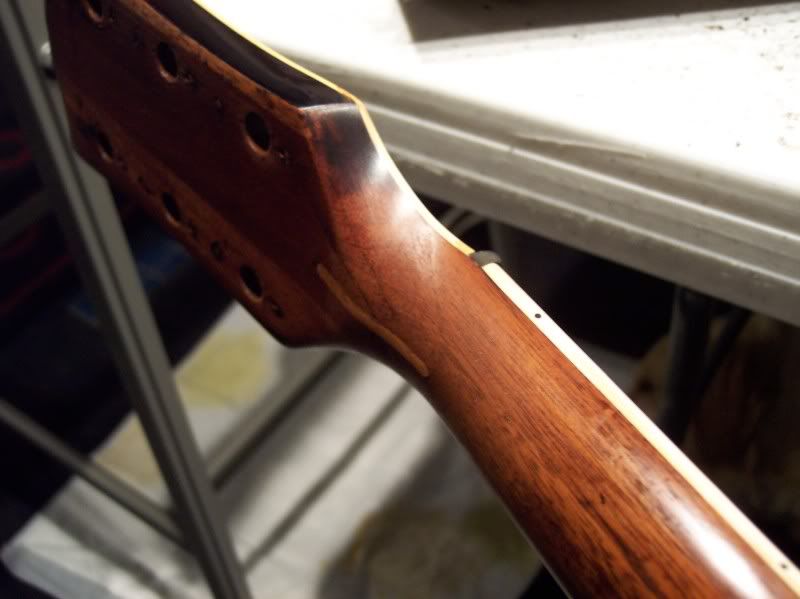
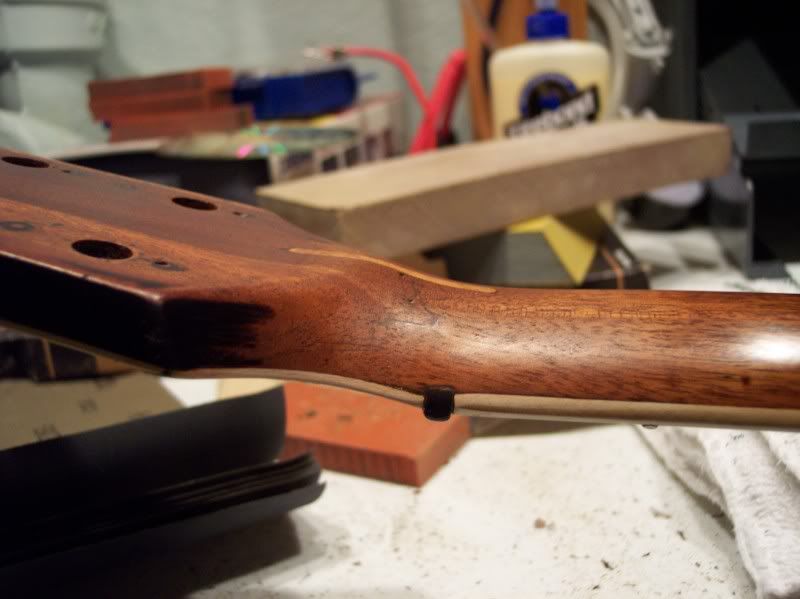
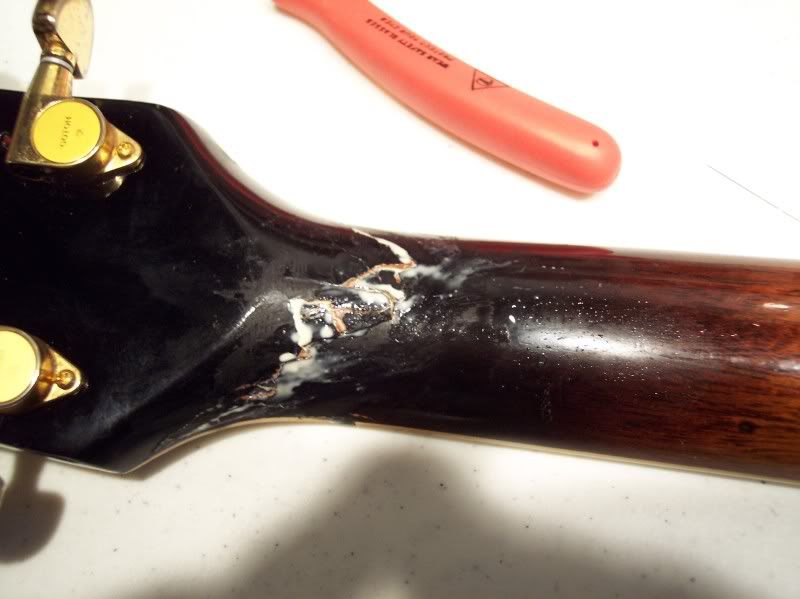
See how nicely the glue oozed out along the entire crack.
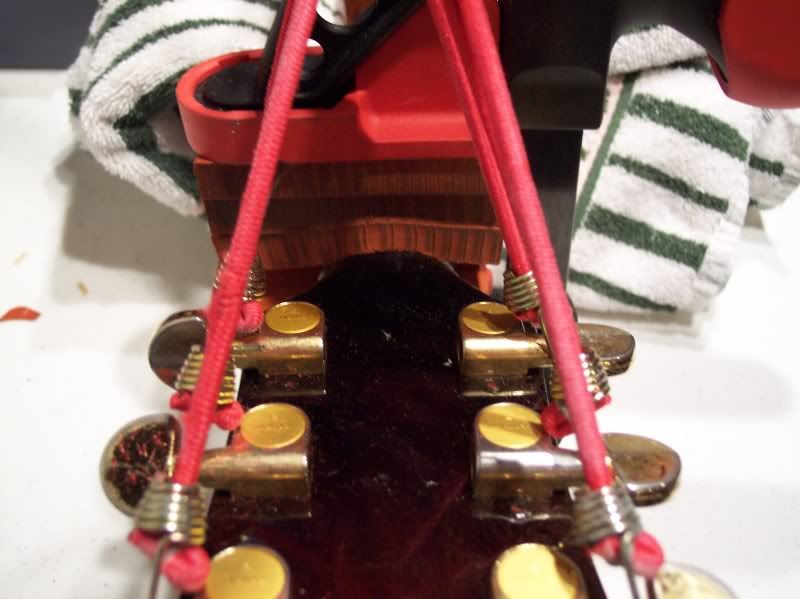
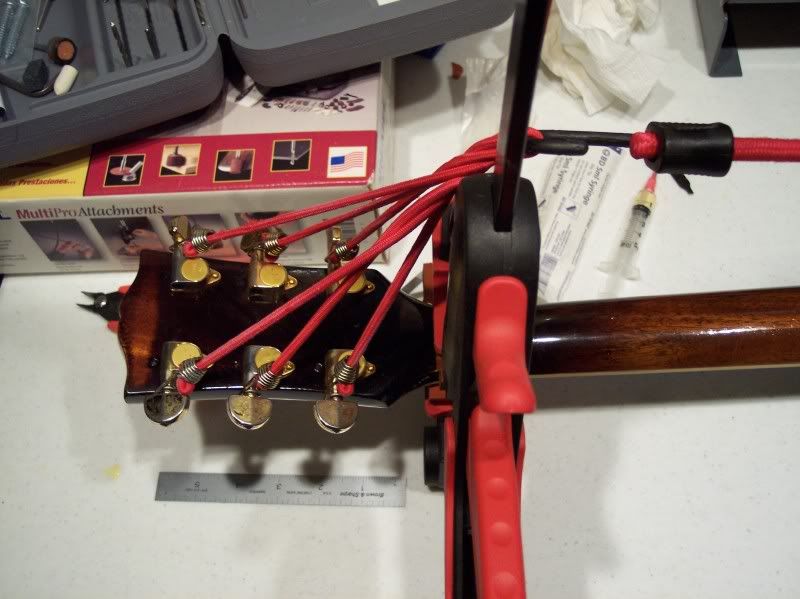
I wasn't satisfied however with the angle of the headstock. Clamping didn't really pull it fully back (it was close, but it wasn't quite there), so I devised this truss on the fly to hold it fully into position.
That's it for now. We'll see what we have on Saturday or Sunday sometime. Then we'll do the finish work to hopefully have a relatively unnoticeable repair.
Check back after the weekend
Here are a couple of pictures just before the repair. On one hand, it probably would have been better if it were all the way off. It was just a little more difficult pumping the glue in.
Here's one showing the two pieces of the puzzle that had to be inserted.
The glue syringe with Titebond
Pumping the cracks full of glue. When the glue oozed out, I covered the section of the crack with my finger until eventually the glue oozed out from the very end of the crack. I could get the syringe all the way to the bottom of the cracks either from the direction you see or through truss rod counterbore area.
Then I carefully inserted the pieces covered with their own glue and slowly pulled the headstock back into position.
Once I was satisfied that the pieces were were they should be, I clamped the joint using stiff elastomer blocks that followed the contour of the neck and hopefully providing clamping power along that profile. At least that is my plan. It looks to be doing what I thought.
See how nicely the glue oozed out along the entire crack.
I wasn't satisfied however with the angle of the headstock. Clamping didn't really pull it fully back (it was close, but it wasn't quite there), so I devised this truss on the fly to hold it fully into position.
That's it for now. We'll see what we have on Saturday or Sunday sometime. Then we'll do the finish work to hopefully have a relatively unnoticeable repair.
Check back after the weekend