Dig it! lets see those rattle can finishes (also some tips on how to)

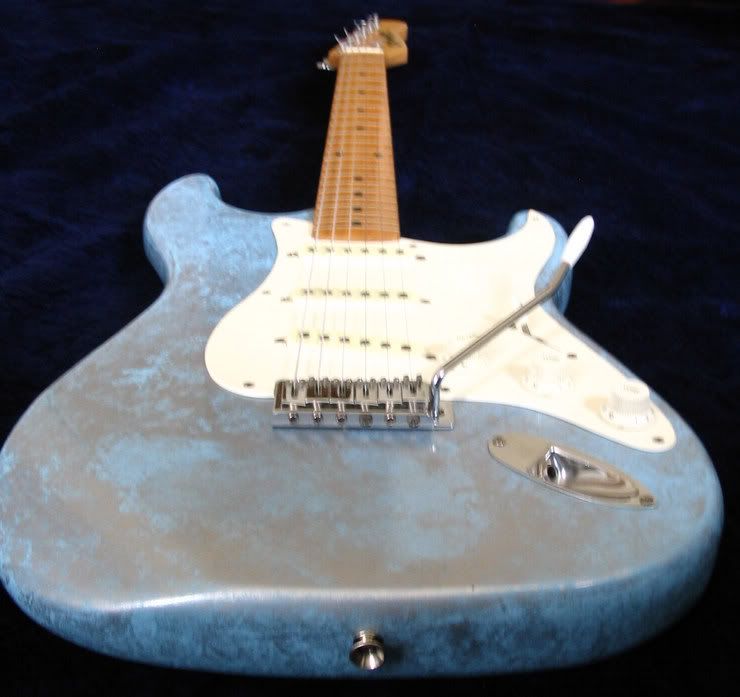
wow thats really.....white


EBCCCDFA-2C6A-420F-8F81-0FBC75C3DCFA_zpsarkixcfr.jpg
 
the epoxy thing i read about on a martin forum supposedly those guys use that for grain filling.
you take epoxy and put some on the area to be filled, then with a razor scrape off the excess.
problem is you only have a few seconds before it hardens and if you dont remove the excess
you have to sand it off and that stuff is a bitch to sand.
 
they use a great spray nozzle that makes it pretty easy to get a uniform coat.

speaking of spray nozzles I saw this thing at walmart that should make for easy-more control when spraying
its like a trigger assembly that attaches to any rattle can that gives you the same control as a real spray gun.

has anyone used this yet?
 
the epoxy thing i read about on a martin forum supposedly those guys use that for grain filling.
you take epoxy and put some on the area to be filled, then with a razor scrape off the excess.
problem is you only have a few seconds before it hardens and if you dont remove the excess
you have to sand it off and that stuff is a bitch to sand.

There's an epoxy called z pac that's made for the purpose. Much thinner.
Marine epoxy will also do the trick. It doesn't set up for a couple of hours.
 
Good summary. I think you nailed it. The only tips I can think of:
1. You mentioned making sure the cans were warm. I normally float them in hot-ish water for 30 minuted before spraying.
2. When spraying, make a second pass on a 45 degree angle for complete coverage. Less chance of spray lines.
3. The only other thing I would add is when choosing a paint or clear coat, double check it. All lacquer products aren't created equal.
Several manufacturers have adjusted their products recently and sometimes they aren't even compatible within their own brand.
I had this happen to a friend recently using Krylon products. One of the clear lacquers that he bough was not an acrylic or nitro base.
 
speaking of spray nozzles I saw this thing at walmart that should make for easy-more control when spraying
its like a trigger assembly that attaches to any rattle can that gives you the same control as a real spray gun.

has anyone used this yet?

I bought one of those when painting some furniture recently. It worked well and definitely resulted in less "finger fatigue" (or whatever you would call it) than I often get with standard rattle cans. Actually, the nozzle on the Minwax clear is the most comfortable one I've used as far as that is concerned. The ReRanch cans actually seem to be the worst.

I completely forgot I bought that spray trigger thing until you mentioned it. I'll probably try it on my Jag project when I start the finish work in a few weeks.


looks great!

Thanks....It is the 3rd color I tried. Really prepped it for the first try. Subsequent tries I kinda lost my resolve. It is a really cheap Squire that I decided to put the GK2 on. Was originally a shitty red. It was given to me by a friend whose son was being a real dick and kicked it over and stepped on it. My friend picked it up and handed it to me. It was my "at work" guitar until I bought the guit synth.


The first try....Way too military green!

 
My Cardinal Rules:
Never use Duplicolor clear coat.
Never use Rust O Leum lacquer of any kind.
Use Deft lacquer only in a pinch.
If ordering from Reranch, order an extra can of everything. Their shipping will choke you.
Always let it dry completely before moving on.
Then let it dry some more.
 
how can I achieve a flat/matte black finish?

Do all all your painting in gloss including the clear coat.
When you're happy with the results, buy one can of "satin" or "matte" clear and apply maybe two coats.
Do not apply more than a couple of coats, as it is very opaque and your finish will get an ugly milky hazy look to it that will suck.
Plus, the satin sheen blends have stearates added that creates the dull look. It also makes the paint softer so you don't want to use any more of it than you have to. It's just a light light top coat.
 
This is an old 70's Harmony strat copy that I re-fin'd about 6-7 years ago. The body is just a simple alder body that was blonde finish. I stripped it (sanded it off) then sprayed it with a Walmart enamel equivalent of Daphne blue, light sanding between about five coats. Then I rag-rolled sterling silver metallic craft paint over that, let dry, gave another light sand and started spraying finish sealers over, fine sanding with finer grits between each spray. Then I used Macguire's polish and swirl remover to buff it to a shine.

HarmonyStratfull2.jpg

HarmonyStratbodyback1.jpg

HarmonyStratbody2.jpg


The neck is what is great about this old guitar. Has the worn in feel of a real 50s or 60s strat so I rounded the headstock off to match close to a real strat and added a custom logo of my own on it. It has GFS greybottom PUs in it now. I kept all of the original guard, knobs, and switch tip cause I like that they have aged.

HarmonyStratendview1.jpg
 
Back
Top