Modern Saint
Starve your Fear, Feed your Dream!
What does a choke do one might ask, chokes help to reduce ripple and improve the stability of the DC voltage. Be careful if you perform this type of task because you are working with high voltages.
So after reading several forum post such as HC and others, I acquired the parts necessary to perform this improvement. This mod will tighten up the DC voltage and will remove any type of inherent 60 cycle noise that maybe prevelant. With the improvement. The supply voltage will be more stable. Both of my Jet City Amps will receive this mod along with a future depth mod as well (parts need to be purchased).
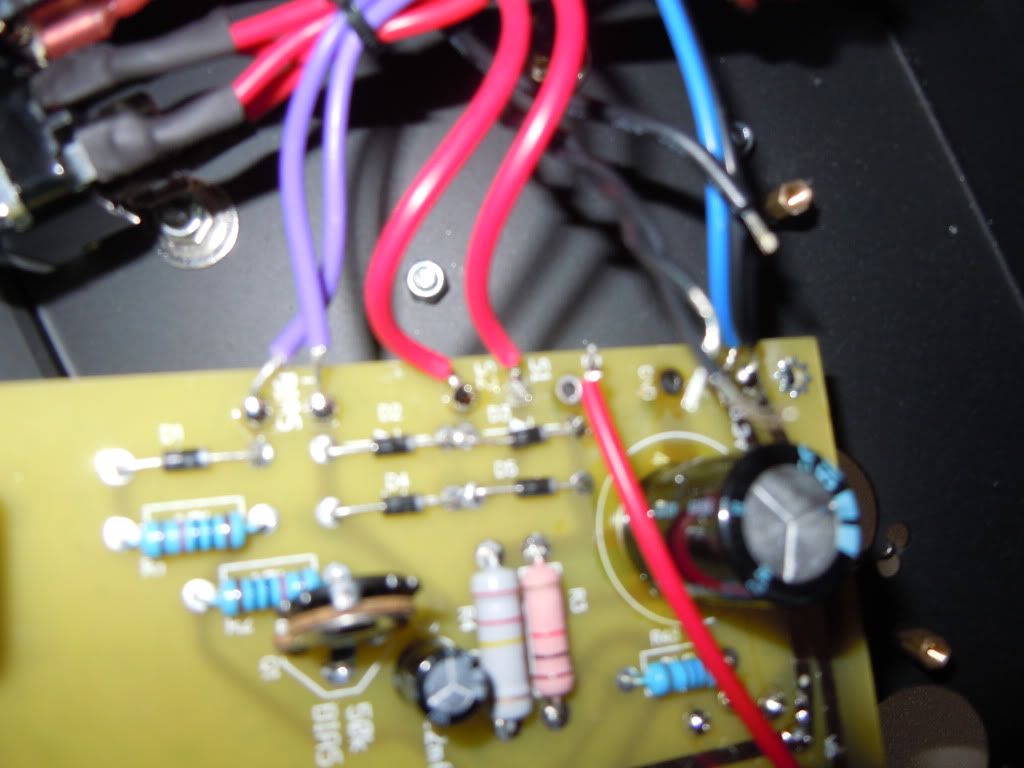
Before I disassembled the amp, I did take voltage reading so I have a comparion of DC and AC ripple voltages using my DVM. This will be my starting point. I will remeasure the voltage again once the choke is installed. That way I have a record for future repairs if necessary.
The Parts
I bought the hardware from my local OSH
The choke - Hammond 156M - from Mouser Electronics.
Total Cost - about $20-$22

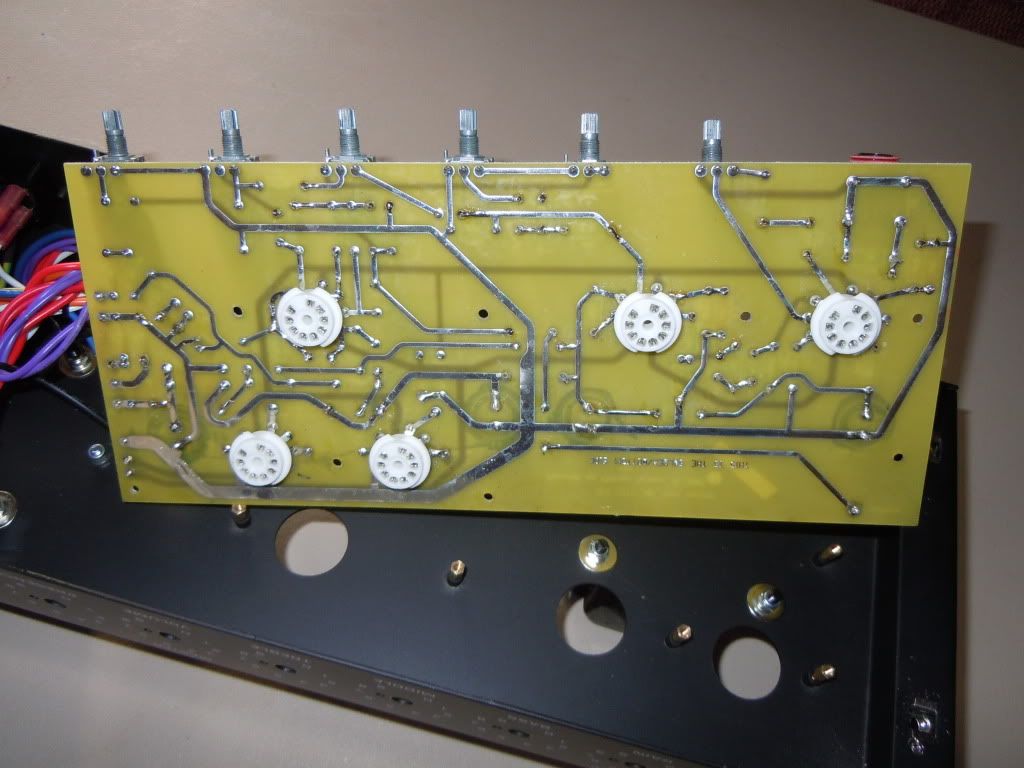
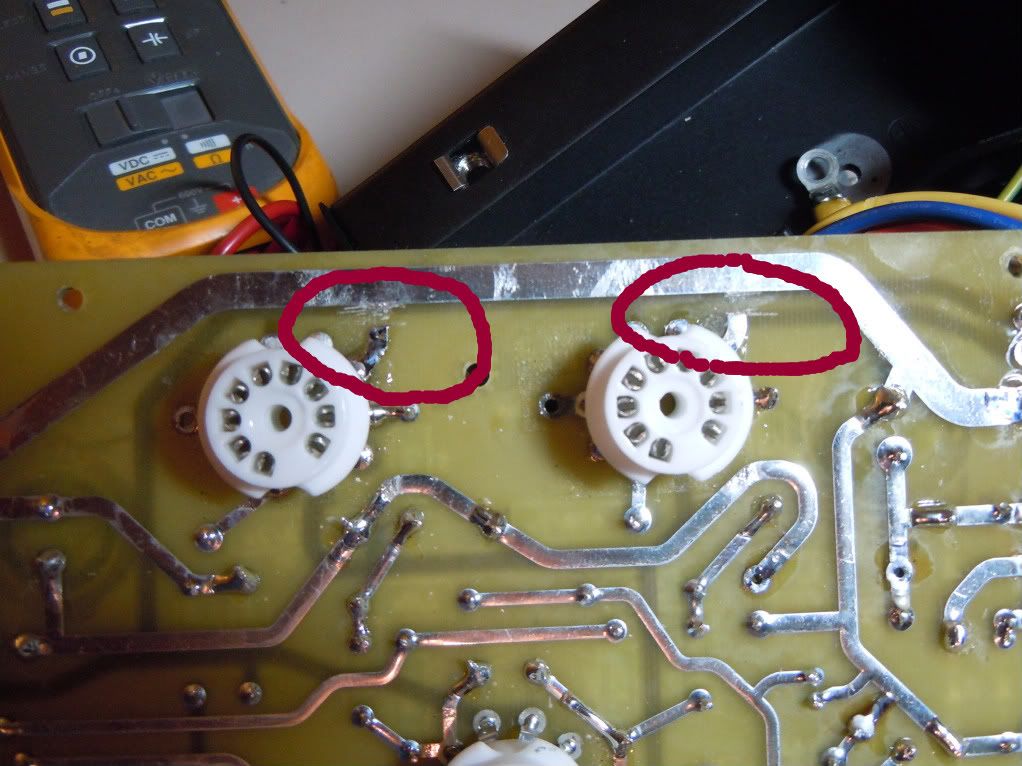
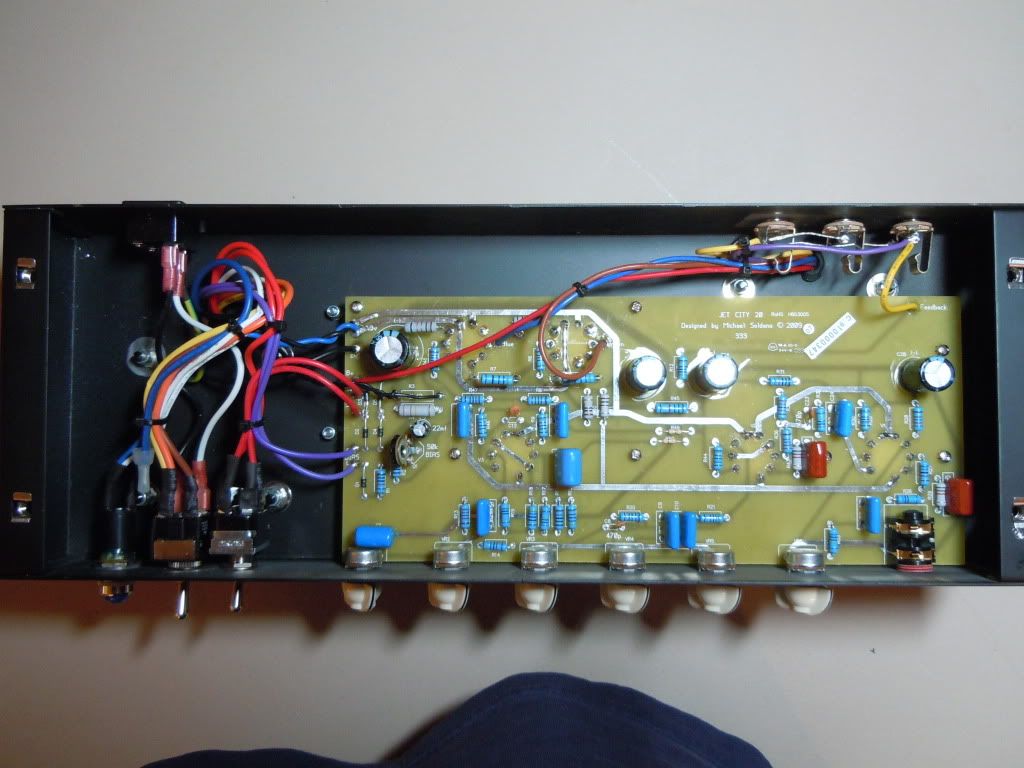
Board Layout
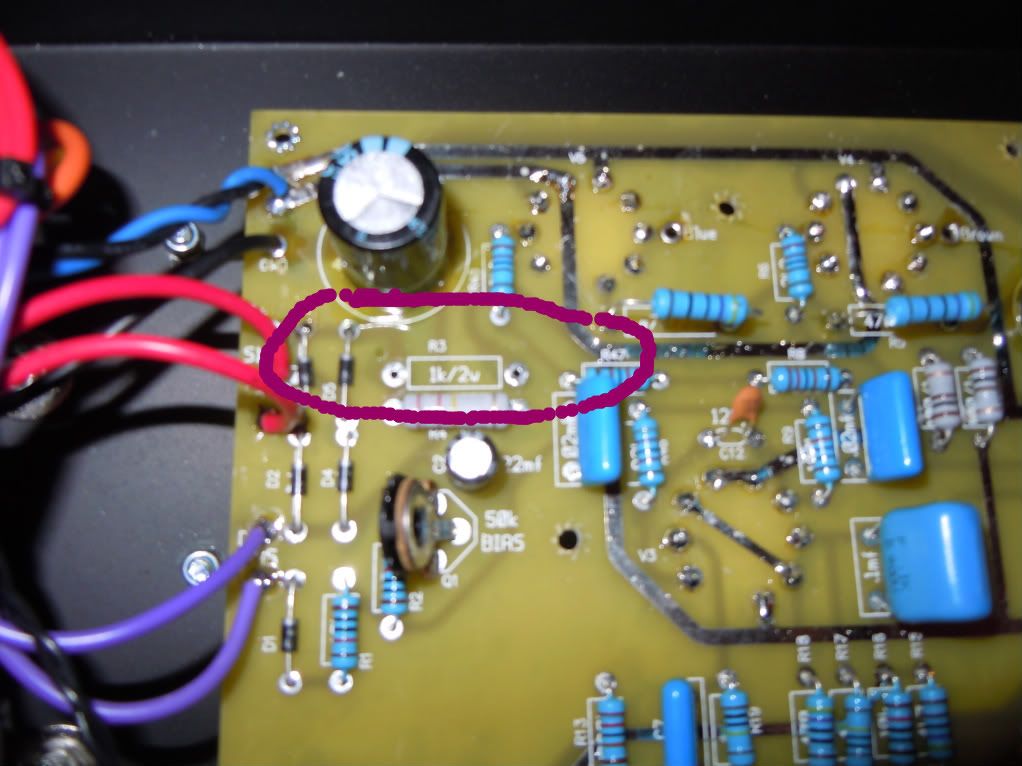
The choke will replace R3 on the board
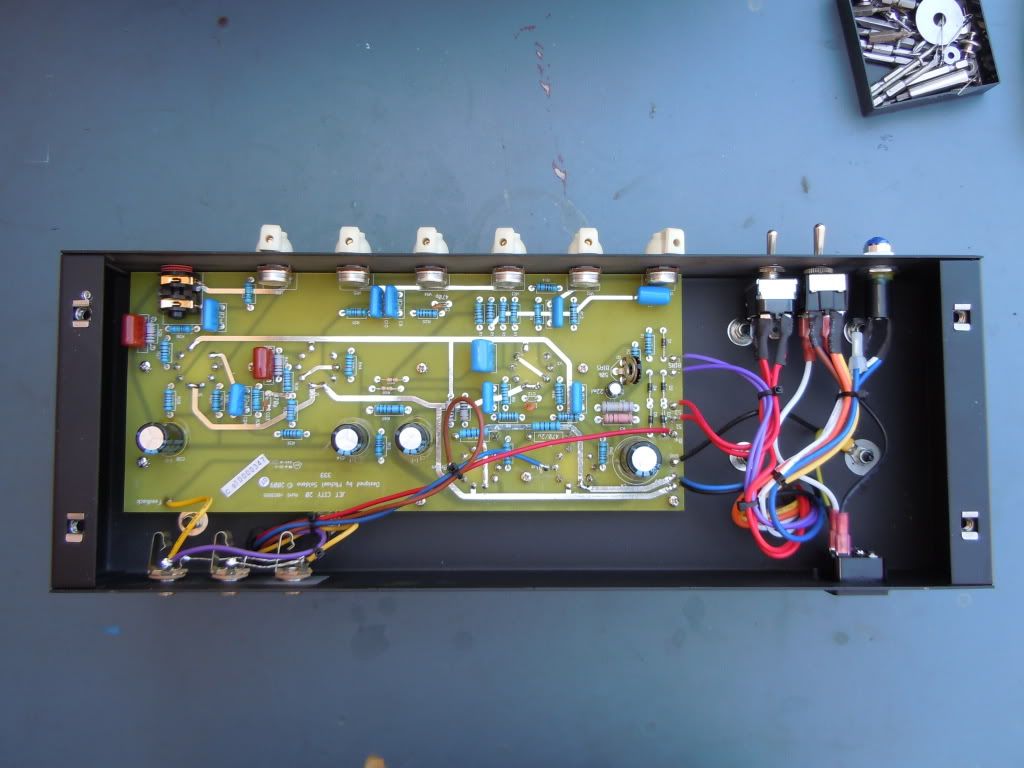
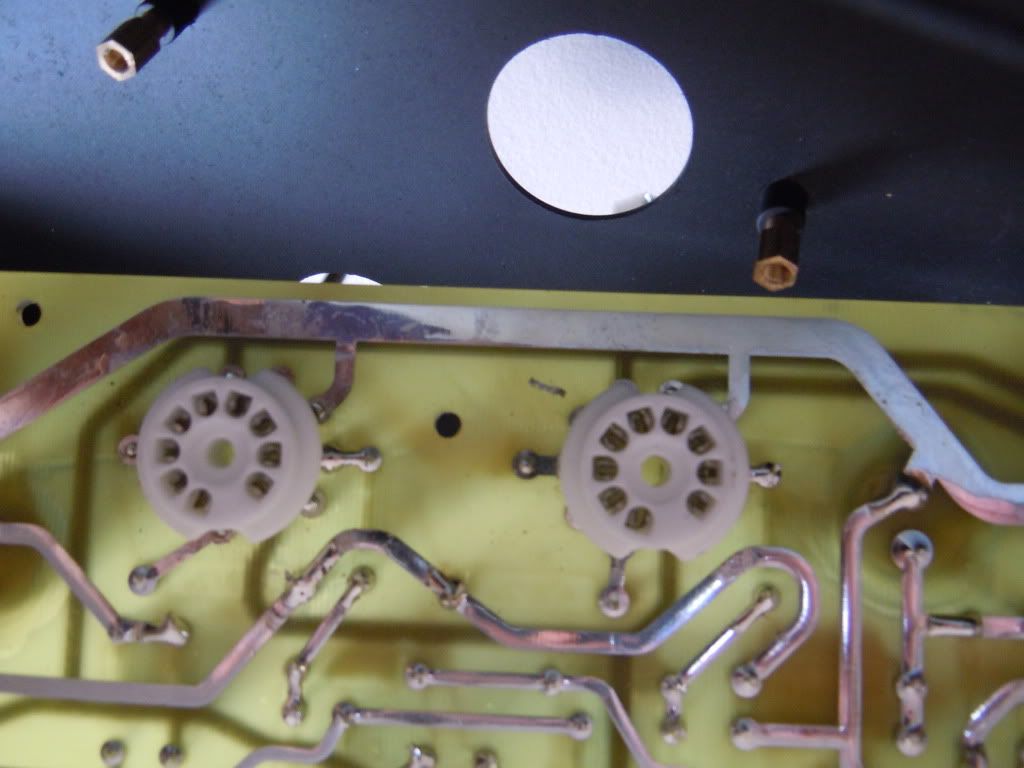
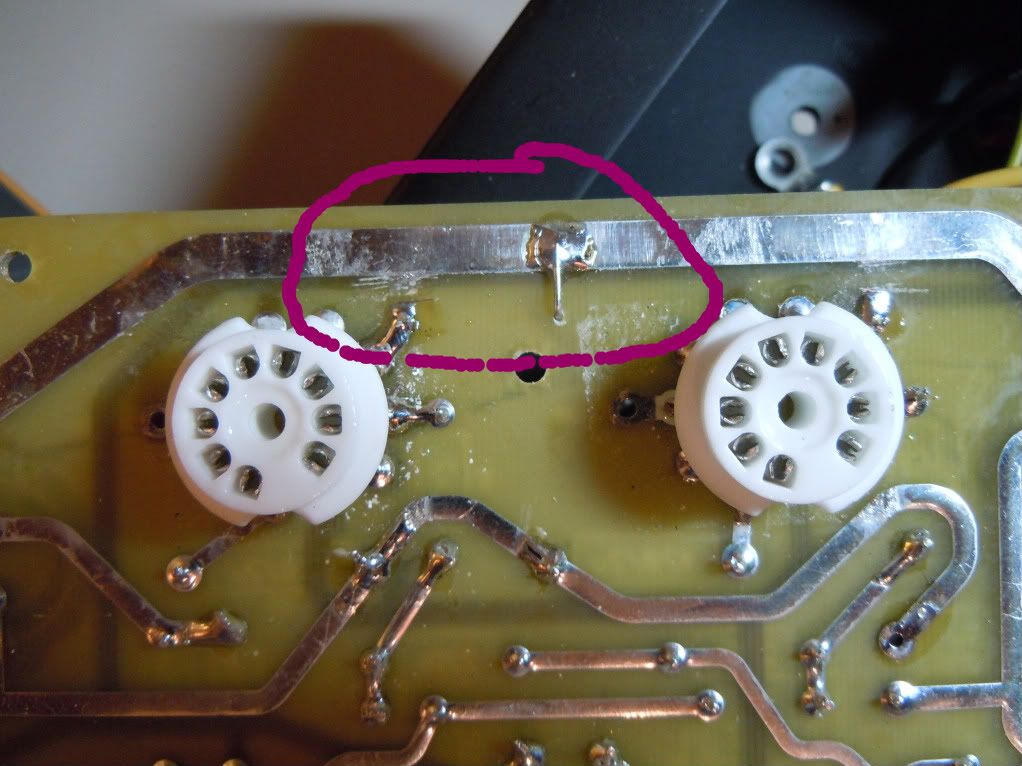
Parts Removed to Perform Mod
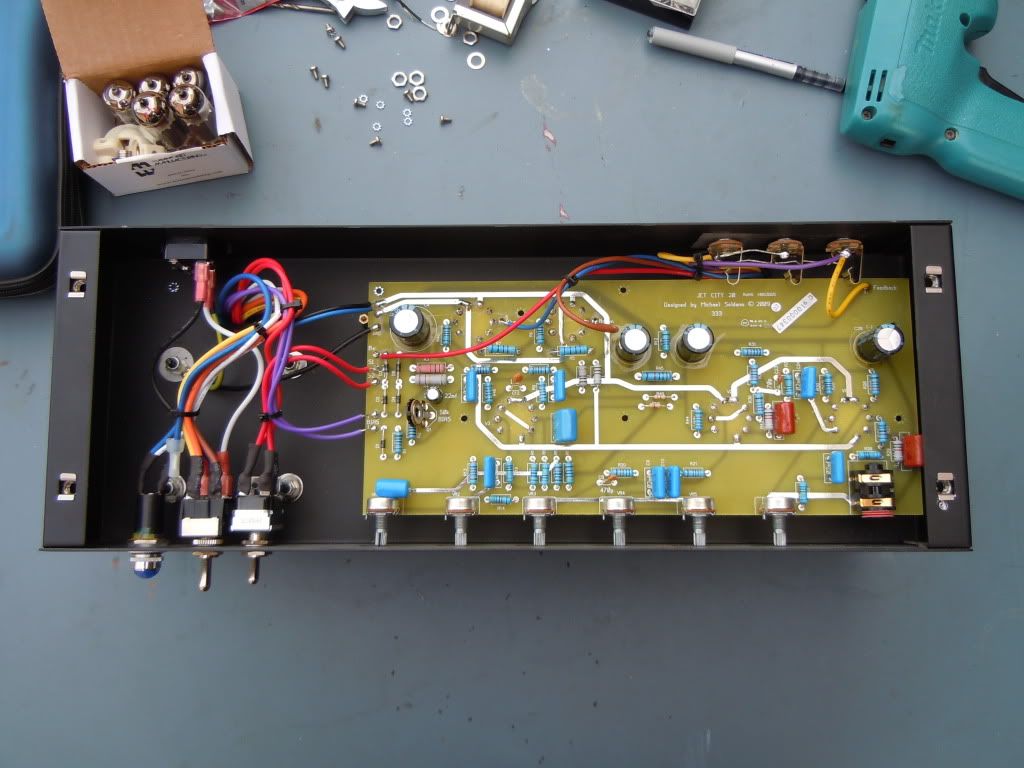
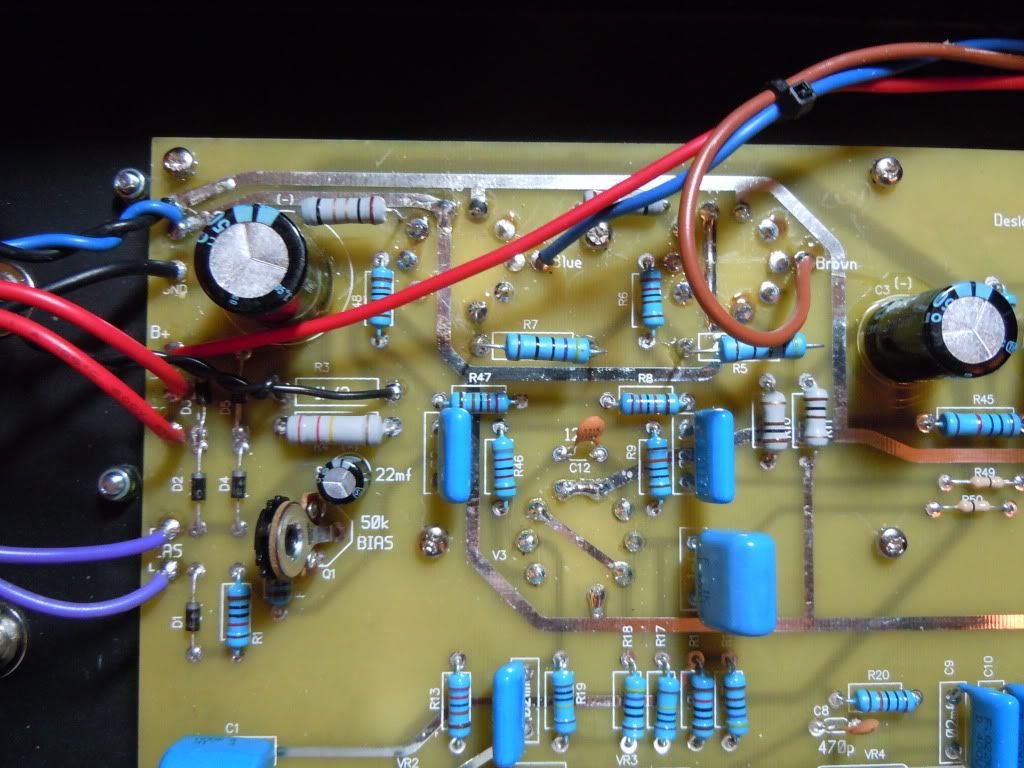
Choke Installed

Close of Installed Choke

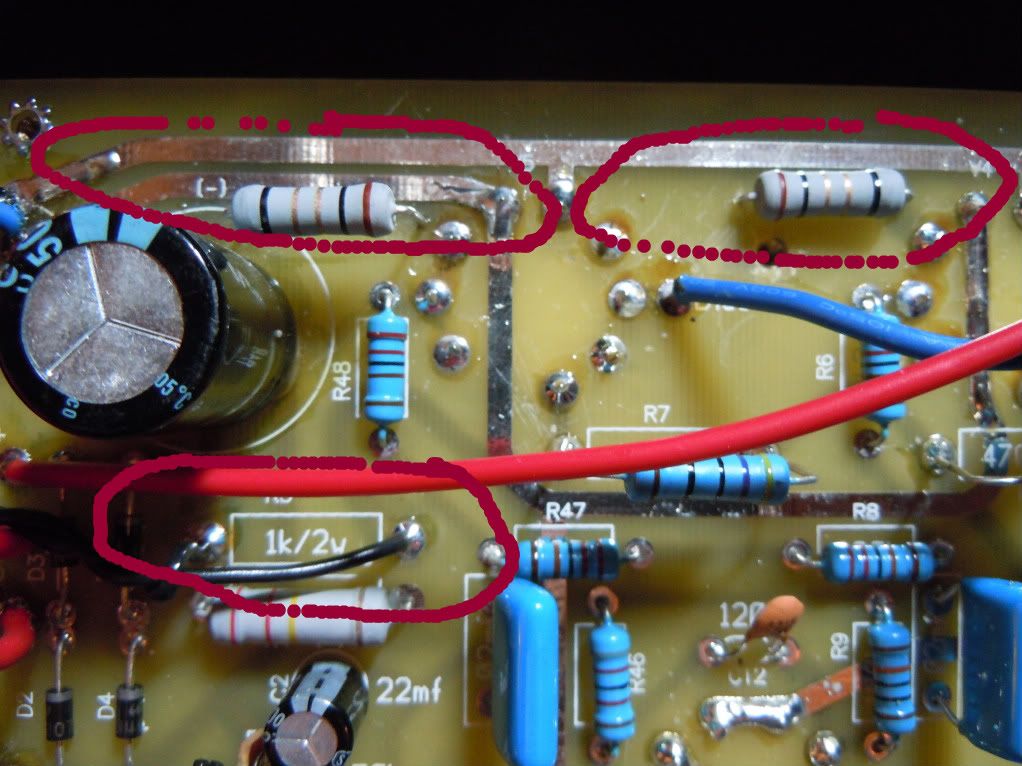
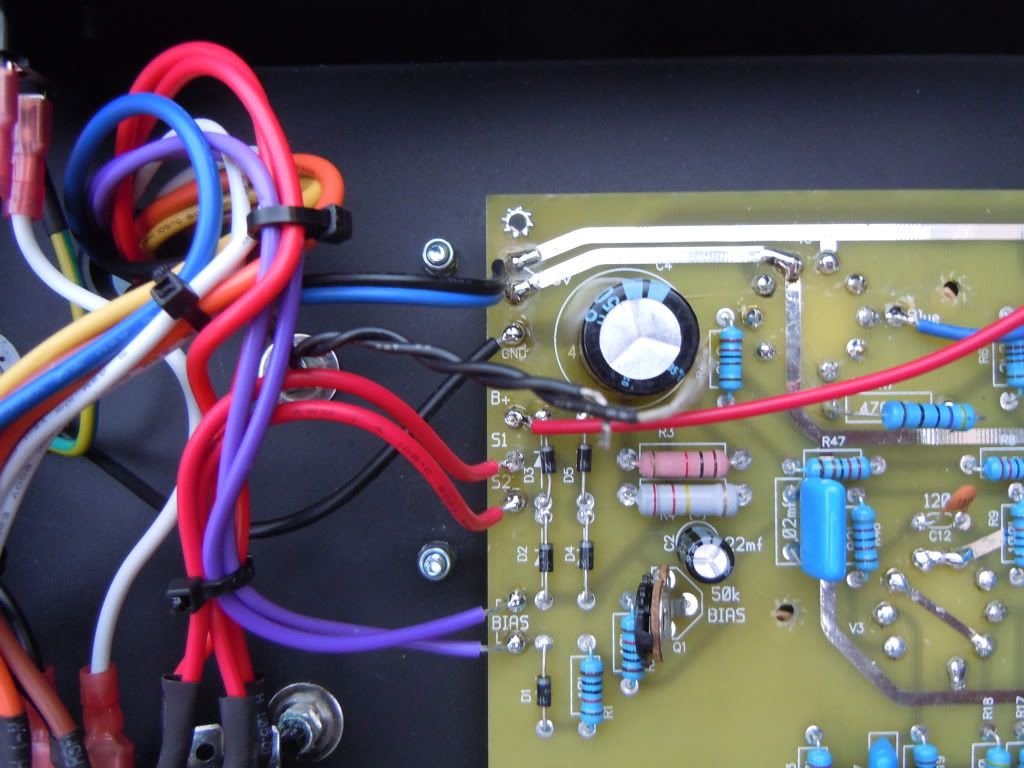
Shot of Screws Installed on Board Side
Notice the new M7 nylon lock screws to the left of the board. One is located above the blue and black wires and the other to the left of D2. Notice resistor R3 which is Pink, this is what the choke will replace.
I will be wiring this up tomorrow and then work on installing 1 ohm resistors for easy bias adjustment. Pots are already installed.
So after reading several forum post such as HC and others, I acquired the parts necessary to perform this improvement. This mod will tighten up the DC voltage and will remove any type of inherent 60 cycle noise that maybe prevelant. With the improvement. The supply voltage will be more stable. Both of my Jet City Amps will receive this mod along with a future depth mod as well (parts need to be purchased).
Before I disassembled the amp, I did take voltage reading so I have a comparion of DC and AC ripple voltages using my DVM. This will be my starting point. I will remeasure the voltage again once the choke is installed. That way I have a record for future repairs if necessary.
The Parts
I bought the hardware from my local OSH
- Machine Screws - M4-.7x12MM
- Flat Washers - M4
- Nylon Lock Screws - M4-.7
The choke - Hammond 156M - from Mouser Electronics.
Total Cost - about $20-$22
Board Layout
The choke will replace R3 on the board
Parts Removed to Perform Mod
Choke Installed
Close of Installed Choke
Shot of Screws Installed on Board Side
Notice the new M7 nylon lock screws to the left of the board. One is located above the blue and black wires and the other to the left of D2. Notice resistor R3 which is Pink, this is what the choke will replace.
I will be wiring this up tomorrow and then work on installing 1 ohm resistors for easy bias adjustment. Pots are already installed.